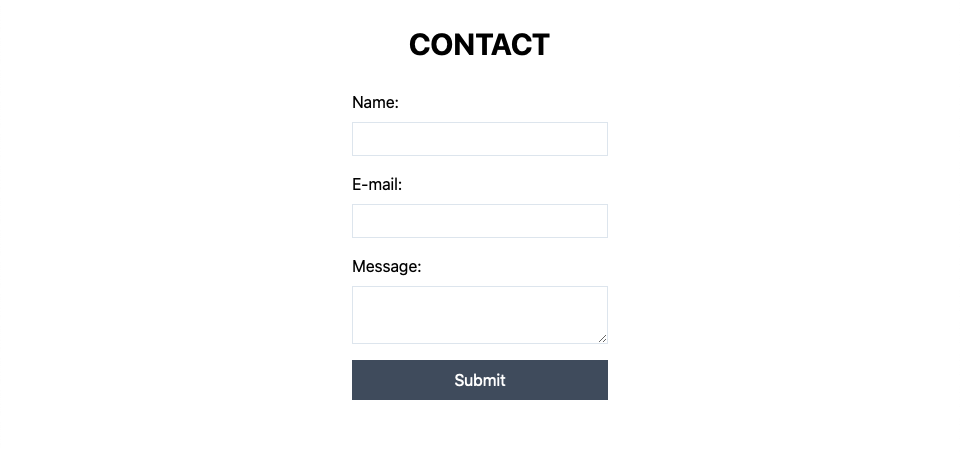
В предыдущем посте мы создали навигацию по вкладкам с Alpine.js, и я сказал, что хочу привести вам более сложный пример. Итак, давайте создадим обычную контактную форму, подобную этой:
Загвоздка в том, что мы будем отправлять данные через AJAX и обрабатывать все данные формы с помощью Alpine. Я делал это бесчисленное количество раз с ванильными JS или jQuery, и это всегда монотонная задача. Вы должны получить все элементы по ссылке, получить доступ к их значениям, а затем отправить данные. Alpine (и другие фронтенд-фреймворки) делают эту задачу легкой.
Как я уже сказал, это будет простая форма (имя, адрес электронной почты, кнопка отправки сообщения), но если вы получите идею реализации, вы можете применить ее в более сложных ситуациях. Вы можете перейти в этот репозиторий GitHub, чтобы получить код и следовать за главной ветвью, или использовать ветвь разработки для получения конечного результата. Это важная часть:
<form action="/contact" method="POST" class="w-64 mx-auto">
	<div class="mb-4">
		<label class="block mb-2">Name:</label>
		<input type="text" name="name" class="border w-full p-1">
	</div>
    <div class="mb-4">
		<label class="block mb-2">E-mail:</label>
        <input type="email" name="email" class="border w-full p-1">
	</div>
	<div class="mb-4">
		<label class="block mb-2">Message:</label>
		<textarea name="message" class="border w-full p-1"></textarea>
	</div>
	<button class="bg-gray-700 hover:bg-gray-800 text-white w-full p-2">Submit</button>
</form>
That’s the basic HTML structure of the form. Up to now, there’s no JavaScript at all, it’s just a regular form that would work with a page reload. Now, let’s sprinkle some Alpine.js on it. Last time, I added the data object inline inside the x-data. This time, since that object will be more convoluted, I’ll show you that you can do most of the “heavy lifting” inside a script tag as such:
<script>
    function contactForm() {
      return {
        formData: {
          name: '',
          email: '',
          message: ''
        },
      }
    }
</script>
Then you just need to add that function call inside the x-data:
<form action="/contact" method="POST" class="w-64 mx-auto" x-data="contactForm()">Now, let me present you the x-model directive. This keeps input elements in sync with the component data. We have the formData object inside the component scope, so we can use them in the inputs and textareas like this:
<form action="/contact" method="POST" class="w-64 mx-auto" x-data="contactForm()">
    <div class="mb-4">
      <label class="block mb-2">Name:</label>
      <input type="text" name="name" class="border w-full p-1" x-model="formData.name">
    </div>

    <div class="mb-4">
      <label class="block mb-2">E-mail:</label>
      <input type="email" name="email" class="border w-full p-1" x-model="formData.email">
    </div>

    <div class="mb-4">
      <label class="block mb-2">Message:</label>
      <textarea name="message" class="border w-full p-1" x-model="formData.message"></textarea>
    </div>
    <button class="bg-gray-700 hover:bg-gray-800 text-white w-full p-2">Submit</button>
</form>
In vanilla JavaScript, you would probably have to grab the element with something like getElementById and then access its value. With x-model, you don’t have to worry about it. As you type in the input element, your data object is automatically updated with whatever you typed.
Теперь, что касается части AJAX, давайте просто используем API выборки, поэтому нам не нужно извлекать внешнюю зависимость, но вы можете адаптировать это к своим потребностям, конечно:
function contactForm() {
	return {
		formData: {
			name: '',
			email: '',
			message: ''
		},
		message: '',

		submitData() {
			this.message = ''

			fetch('/contact', {
				method: 'POST',
				headers: { 'Content-Type': 'application/json' },
                body: JSON.stringify(this.formData)
            })
			.then(() => {
				this.message = 'Form sucessfully submitted!'
			})
			.catch(() => {
				this.message = 'Ooops! Something went wrong!'
			})
		}
	}
}
and add this paragraph before the form closing tag:
<p x-text="message"></p>If you don’t understand what the .then and .catch statements are, dont' worry, you can check out this article about promises. I’ll probably do a blog post about it in the future, stay tuned. Basically, this whole submitData method will do a POST request to the /contact route and pass the form data as a stringified JSON. If everything is successful the .then block is executed, if there's and error in the response, the .catch is executed.
Теперь мы должны вызвать этот метод при отправке формы. Элемент form выдает событие, поэтому мы можем submit прослушивать его с помощью x-on директивы, и, поскольку мы не хотим перезагружать страницу, мы добавляем .prevent модификатор события, чтобы «захватить» отправку формы и использовать наш собственный метод «submitData»:
<form action="/contact" method="POST" class="w-64 mx-auto" x-data="contactForm()" @submit.prevent="submitData">That's it! You’ve got yourself a working AJAX form built with Alpine.js. But let’s take a step forward and add some dynamic styling to the submit button to improve the user experience:
Добавьте этот тег стиля внутри заголовка (я просто добавлю этот стиль, потому что на данный момент, Tailwind CSS не поддерживает отключенное состояние из коробки):
<style>
    button:disabled {
      cursor: not-allowed;
      opacity: 0.5;
    }
</style>
Now, replace the old submit button with this one:
<button class="bg-gray-700 hover:bg-gray-800 disabled:opacity-50 text-white w-full p-2 mb-4" x-text="buttonLabel" :disabled="loading"></button>The two interesting bits are the x-text directive and the :disabled. We will use the x-text to change the button's label dynamically and :disabled to, well, disable the button while the form is being submitted.
Обновите функцию contactForm следующим:
loading: false,
buttonLabel: 'Submit',

submitData() {
	this.buttonLabel = 'Submitting...'
	this.loading = true;
	this.message = ''

	fetch('/contact', {
		method: 'POST',
		headers: { 'Content-Type': 'application/json' },
		body: JSON.stringify(this.formData)
	})
	.then(() => {
    	this.message = 'Form sucessfully submitted!'
    })
	.catch(() => {
		this.message = 'Ooops! Something went wrong!'
	})
	.finally(() => {
		this.loading = false;
		this.buttonLabel = 'Submit'
	})
}