Your team has been working on your new project for months (with Laravel of course) and you are ready to launch the nice product you've built. As you are starting to design your marketing website, you are inevitable faced with the dreaded task of preparing & taking screenshots to showcase all the great features & UX you've built.
Screenshots are the perfect way to communicate your product's capabilities to users (let's face it, nobody is reading long marketing copy anymore). But they can be surprisingly difficult and time consuming to prepare:
- You have to come up with carefully crafted & great looking sample content
- Sometimes it's important to remove certain elements, update styles & hide content to make things clearer
- You might need to resize your browser to a certain size to match your website layout
- And then you have to take the screenshots, rename files, store them in your repo etc.
And then there's updates. Changing the design of the app's nav bar? Implementing a color refresh? Adding a major feature that impacts many areas of the app? You have to re-do all the screenshots, or accept that your website slowly gets out of sync (and customers missing all the new stuff you've been working on).
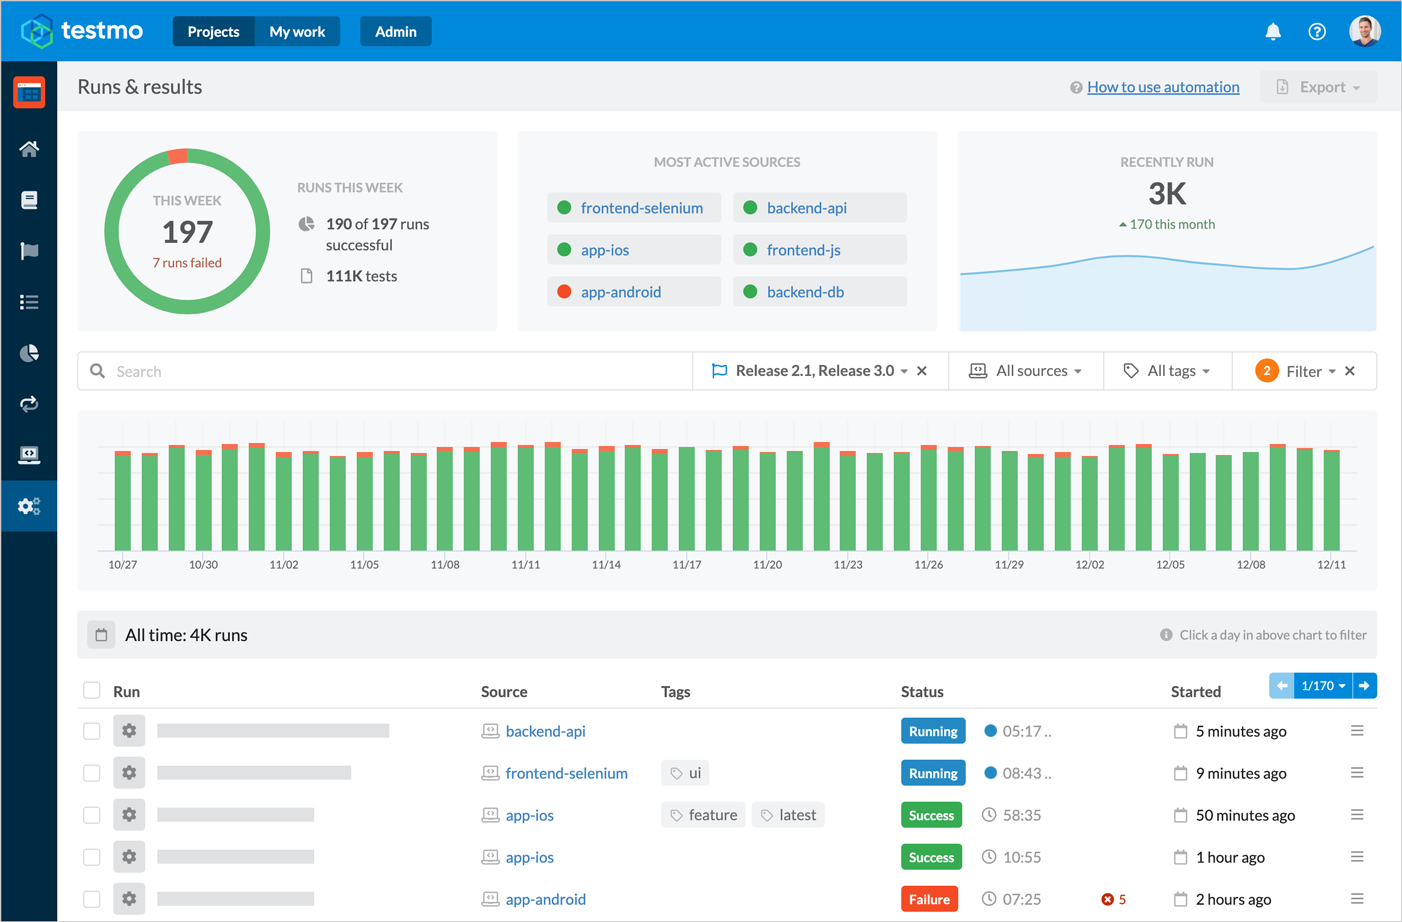
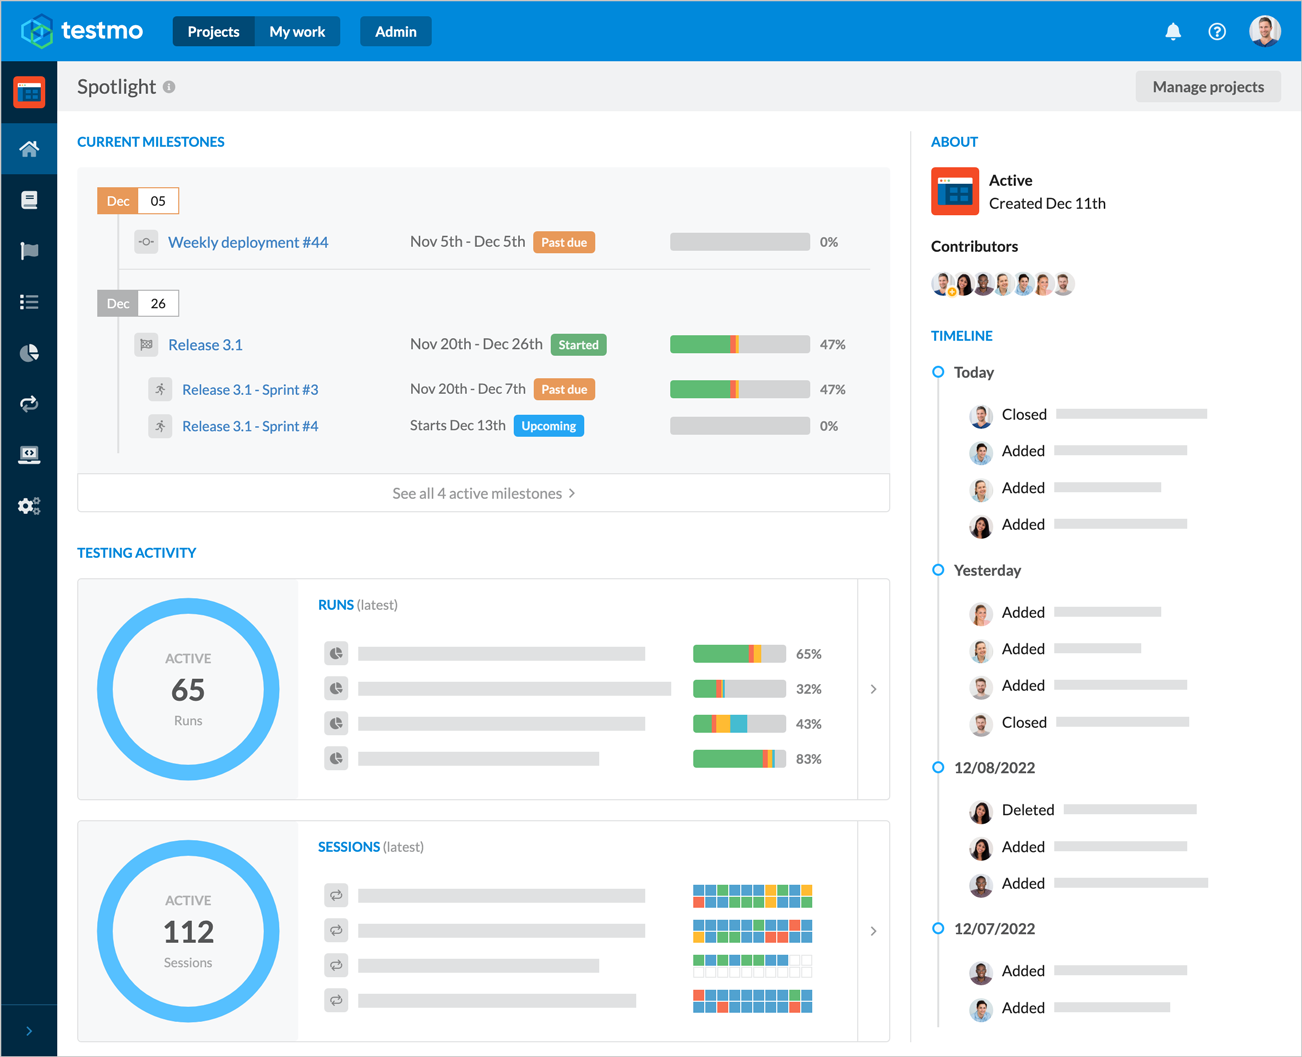
For the website of our test management tool Testmo we were looking for a better way to prepare, take & maintain our marketing screenshots. We have many dozens of complex screenshots on our website, and manually taking & updating the screenshots wasn't an option for us. So automation to the rescue!
Screenshot Automation with Laravel Dusk
We are already using Laravel Dusk extensively for Testmo as part of our test automation suites to verify & check functionality via browser automation. So why not also use Dusk to automatically prepare and take our marketing screenshots? As we started experimenting with this idea, the advantages became obvious pretty quickly:
- Generating great sample content is much easier from code: Especially if you have a complex UI with charts, dashboards etc., it can be very difficult to manually set up your screenshots. From our Laravel Dusk code we can easily use the internal models of the app to prepare and add great looking sample data.
- Fine-tuning the UI via stylesheets & DOM changes: Often times you need to remove certain elements or resize some details to make your screenshots clearer. Instead of having to use Photoshop after taking a screenshot to improve things, you can now use stylesheets or make small changes to the DOM. This is much easier and more flexible.
- Adding placeholders & text bars: You want to keep screenshots simple to understand for your website visitors. That's why many marketing websites add placeholders and gray bar overlays to screenshots to hide too detailed text elements. This is again much easier to do from code and saves tons of time in post-processing.
- Consistent browser & screenshot sizes: If you regularly have to update screenshots, it can be very annoying to try to match the same screenshot sizes again. Setting the browser size from Laravel Dusk is trivial, so you can have consistent screenshot sizes defined in your code.
- Cropping to elements with dynamic resizing: Alternatively, if you want to take screenshots of certain elements of your UI only, you can also easily crop your screenshots to certain DOM elements (based on their coordinates & size calculated by Dusk). Now if you update your UI in the future (and the size or position of elements change), your screenshots will always perfectly match your new design.

More Examples & Laravel Screenshot Tips
Pretty much any screenshot on our website has been automated with Laravel Dusk now, so we can simply update our screenshots whenever we want with a few keystrokes. For more examples, take a look at our test case management and exploratory testing tour pages, which cover & highlight major features of our product.
We've also published a more detailed article with additional code samples & tips on what we've learned from automating our screenshots:
Automating Software Marketing Screenshots with Code →
This guest posting was written by Dennis Gurock, one of the founders of Testmo. Testmo is built using Laravel and helps teams manage all their software tests in one modern platform. If you are not familiar with QA tools, Testmo recently published various tool guides to get started: