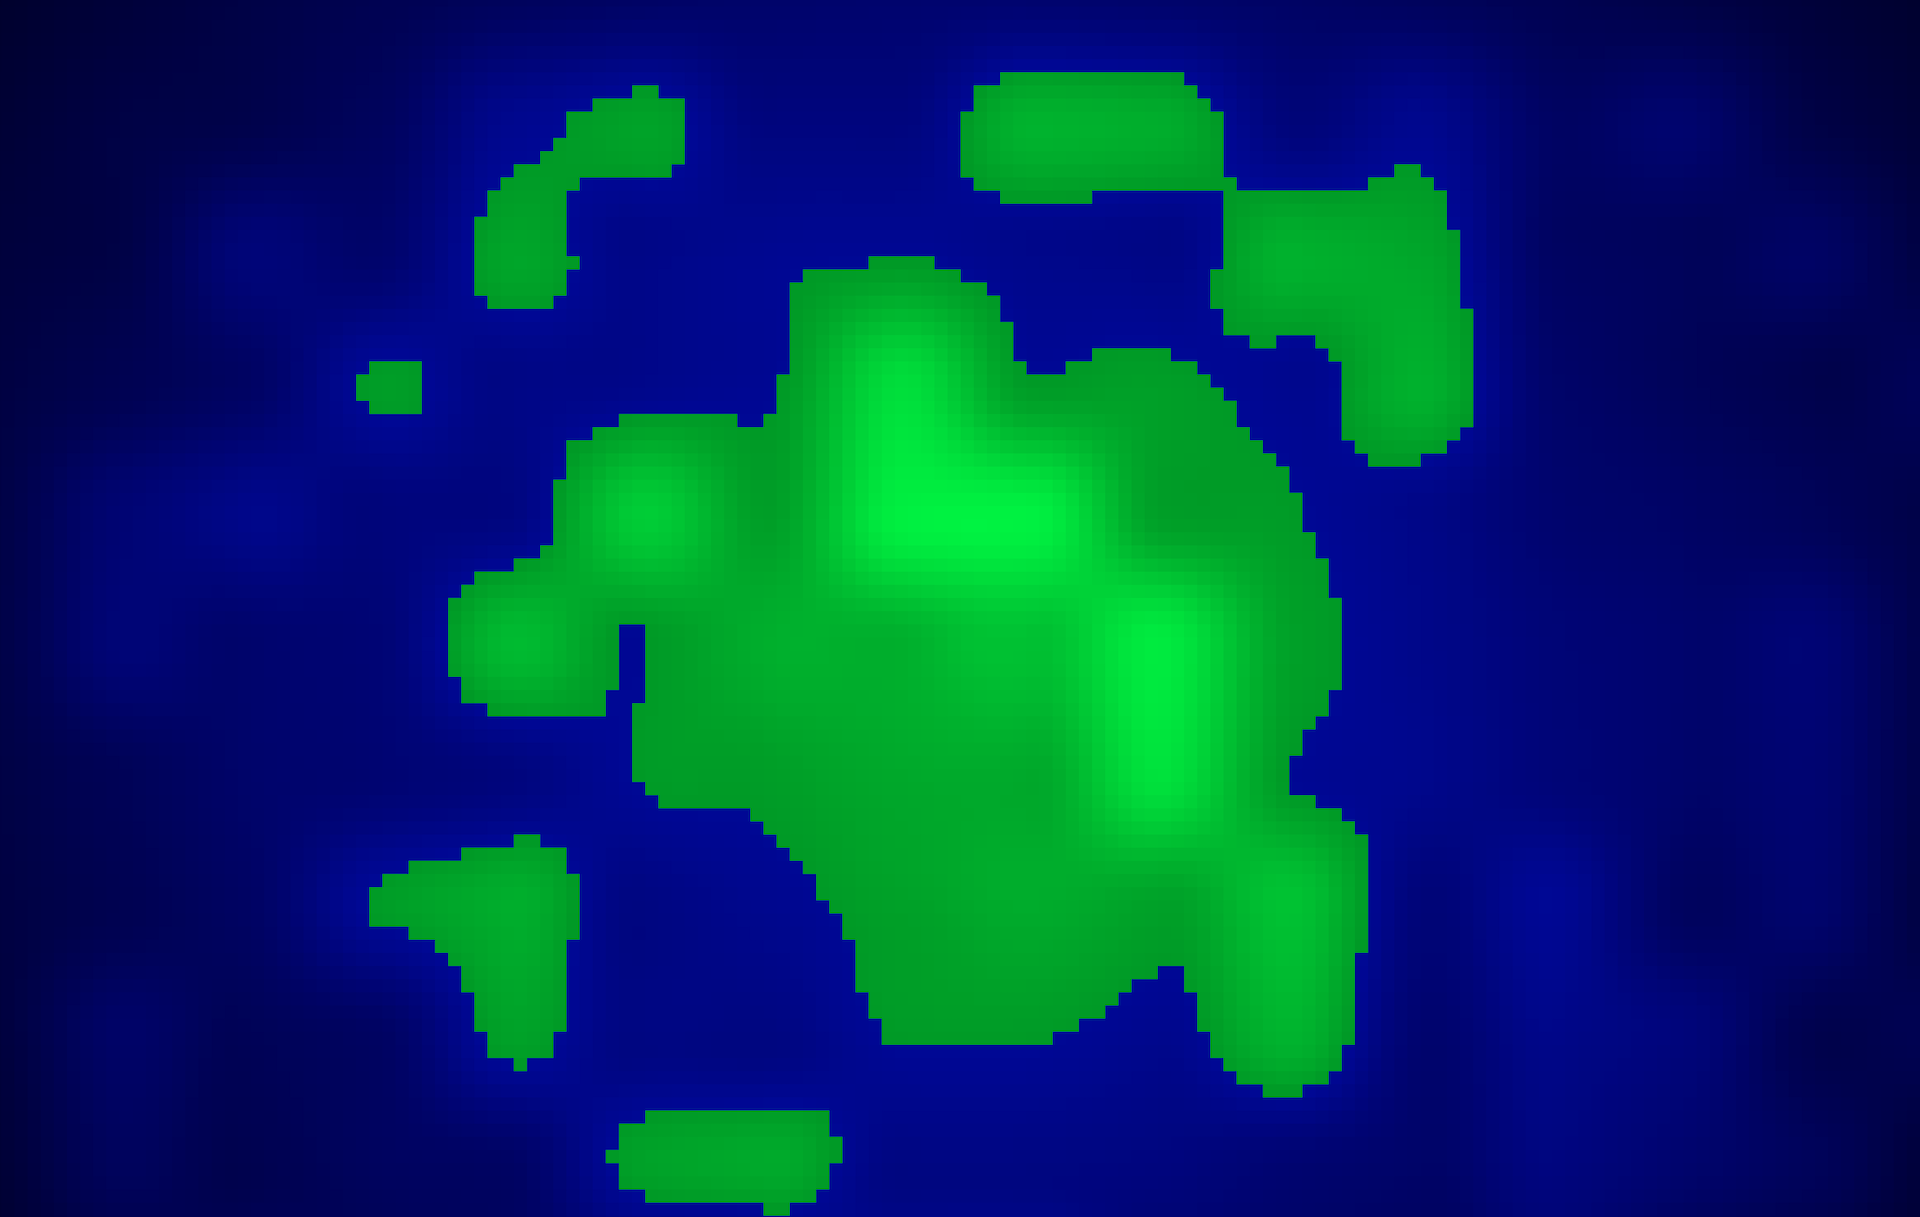
Today, we're building a procedurally generated, 2D game with PHP. It's a simple game that's focussed around resource gathering on a procedurally generated map. In case you're unfamiliar with that term: it's a map there's generated by code, based on a seed. Every seed will generate a completely unique map. It looks something like this:
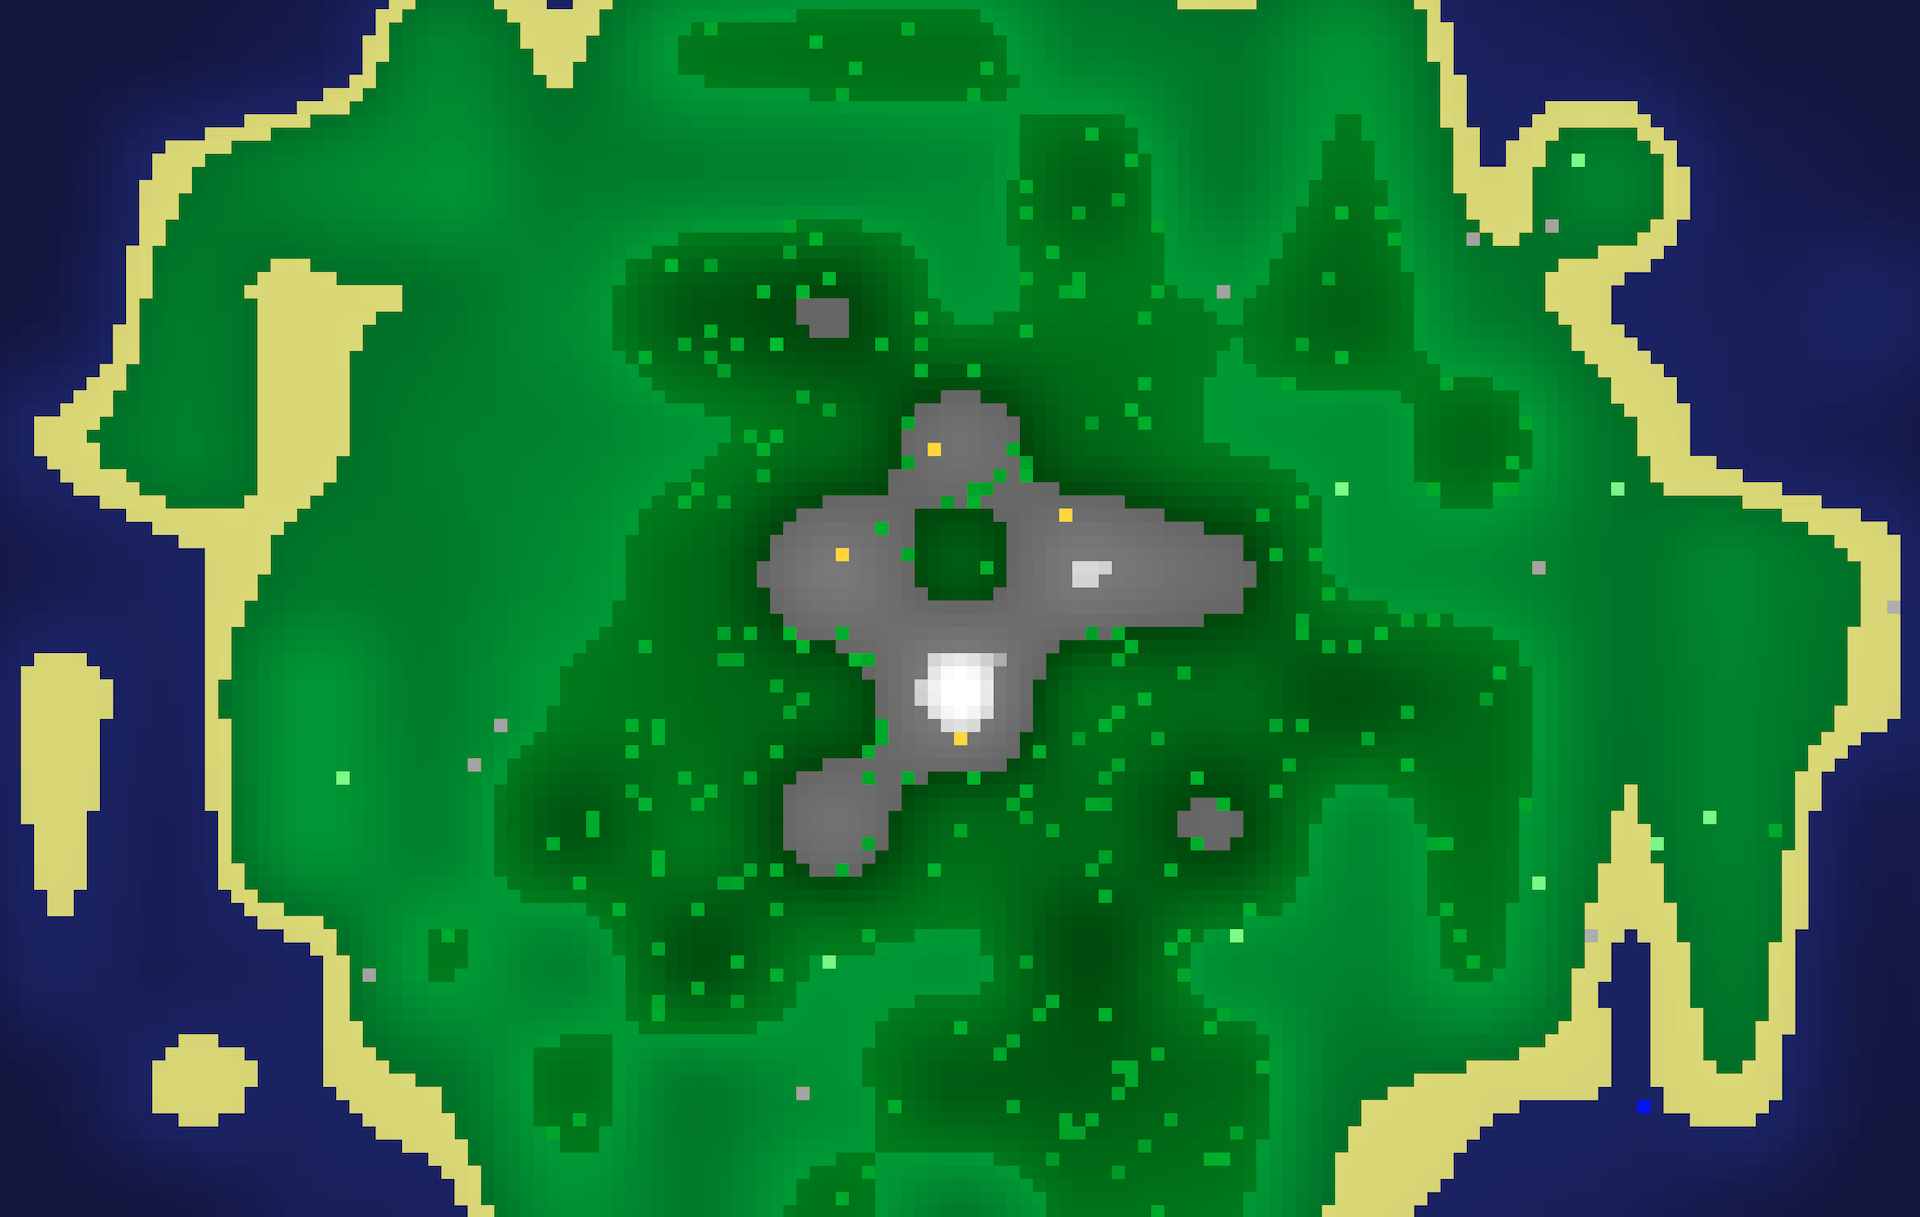
So, how do we go from plain PHP to a map like this? It all starts with noise.
# Noise generation
Let's imagine we have grid of 150 by 100 pixels. Each pixel makes up a point of our map.
$pixels = [];
for($x = 0; $x < 150; $x++) {
    for($y = 0; $y < 100; $y++) {
        $pixels[$x][$y] = drawPixel($x, $y, 0);
    }
}
For now, the drawPixel function will generate a div per pixel, which can be laid out on a CSS grid. We can refactor to use canvas later, but being able to use CSS's built-in grid saves a lot of time.
function drawPixel(int $x, int $y): string
{
    return <<<HTML
    <div style="--x: {$x}; --y: {$y};"></div>
    HTML;
}
This is the template file:
<style>
    :root {
        --pixel-size: 9px;
        --pixel-gap: 1px;
        --pixel-color: #000;
    }
    .map {
        display: grid;
        grid-template-columns: repeat({{ count($pixels) }}, var(--pixel-size));
        grid-auto-rows: var(--pixel-size);
        grid-gap: var(--pixel-gap);
    }
    .map > div {
        width: var(--pixel-size);
        height: 100%;
        grid-area: var(--y) / var(--x) / var(--y) / var(--x);
        background-color: var(--pixel-color);
    }
</style>
<div class="map">
    @foreach($pixels as $x => $row)
        @foreach($row as $y => $pixel)
            {!! $pixel !!}
        @endforeach
    @endforeach
</div>
This is the result:

By the way, I will get rid of the gaps between pixels, I only added them to show that these are indeed separate grid cells.
Let's play around with our grid. We'll start by assigning a value between 0 and 1 for each individual pixel. We'll use a class called Noise that takes a pixel's point (X/Y coordinates), and returns a value for that point. First, we'll return a random value.
final readonly class Noise
{
    public function __construct(
        private int $seed,
    ) {}

    public function generate(Point $point): float
    {
        return rand(1, 100) / 100;
    }
}
// …
drawPixel($x, $y, $noise->generate($x, $y));
Here's the result:
Relying on randomness won't get us very far though. We want a given seed to generate the same map over and over again. So instead of randomness, let's write a hash function: a function that, for any given point and seed, will generate the same value over and over again. You could make it as simple as multiplying the seed with the x and y coordinates, and turning that into a fraction:
public function generate(Point $point): float
{
    $hash = $this->seed * $point->x * $point->y;

    return floatval('0.' . $hash);
}
The result, however, doesn't seem random enough. Remember that we want to generate a world map: we want some randomness, but also some cohesion. So our hash function will need to be a bit more complex.
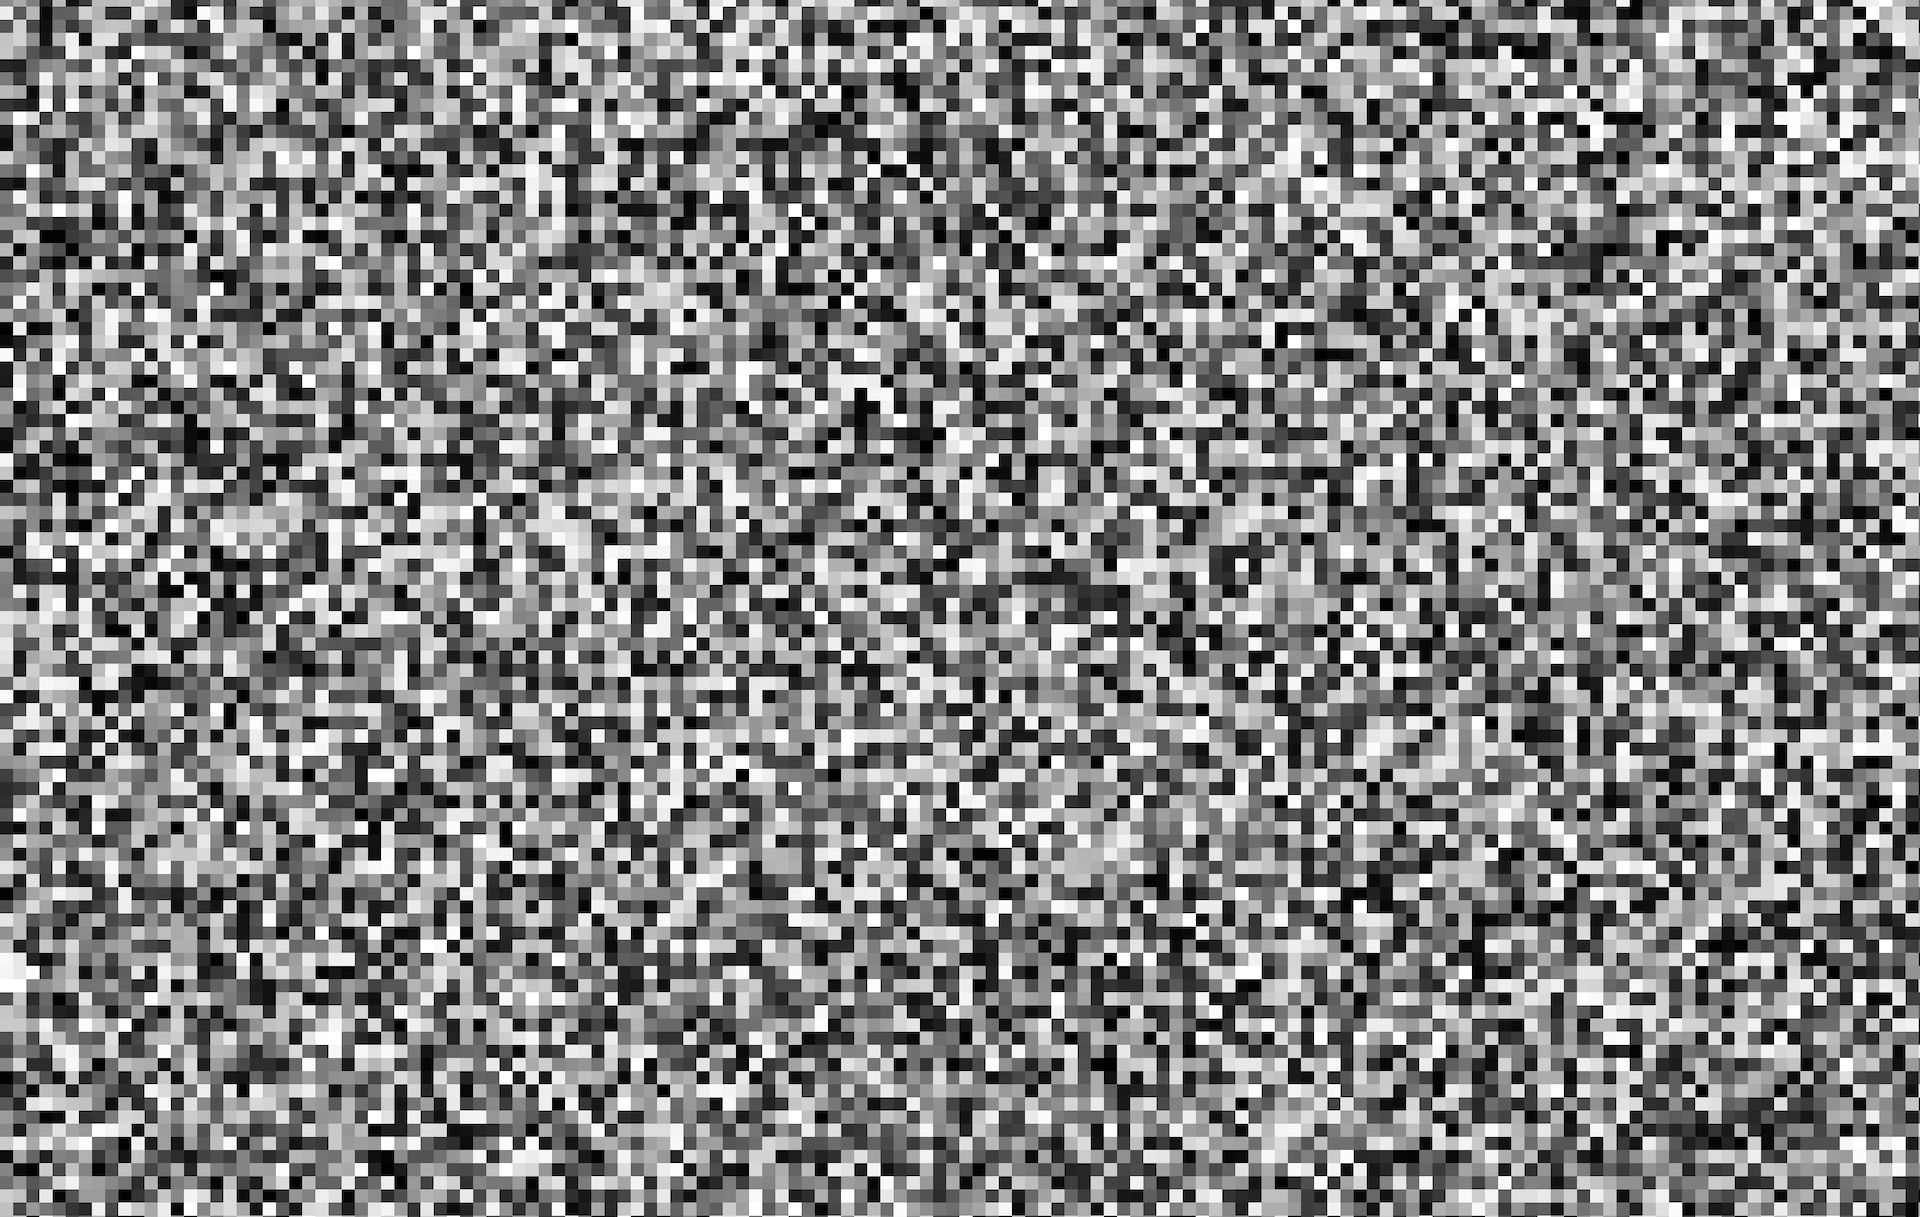
Let's try an existing hash function that we don't need to invent ourselves. We probably want a performant one, since we're generating a hash for thousands of pixels. PHP has support for xxHash, which is an "extremely fast hashing algorithm". Let's give it a try.
private function hash(Point $point): float
{
    $hash = bin2hex(
        hash(
            algo: 'xxh32',
            data: $this->seed * $point->x * $point->y,
        )
    );
    $hash = floatval('0.' . $hash);
    return $hash;
}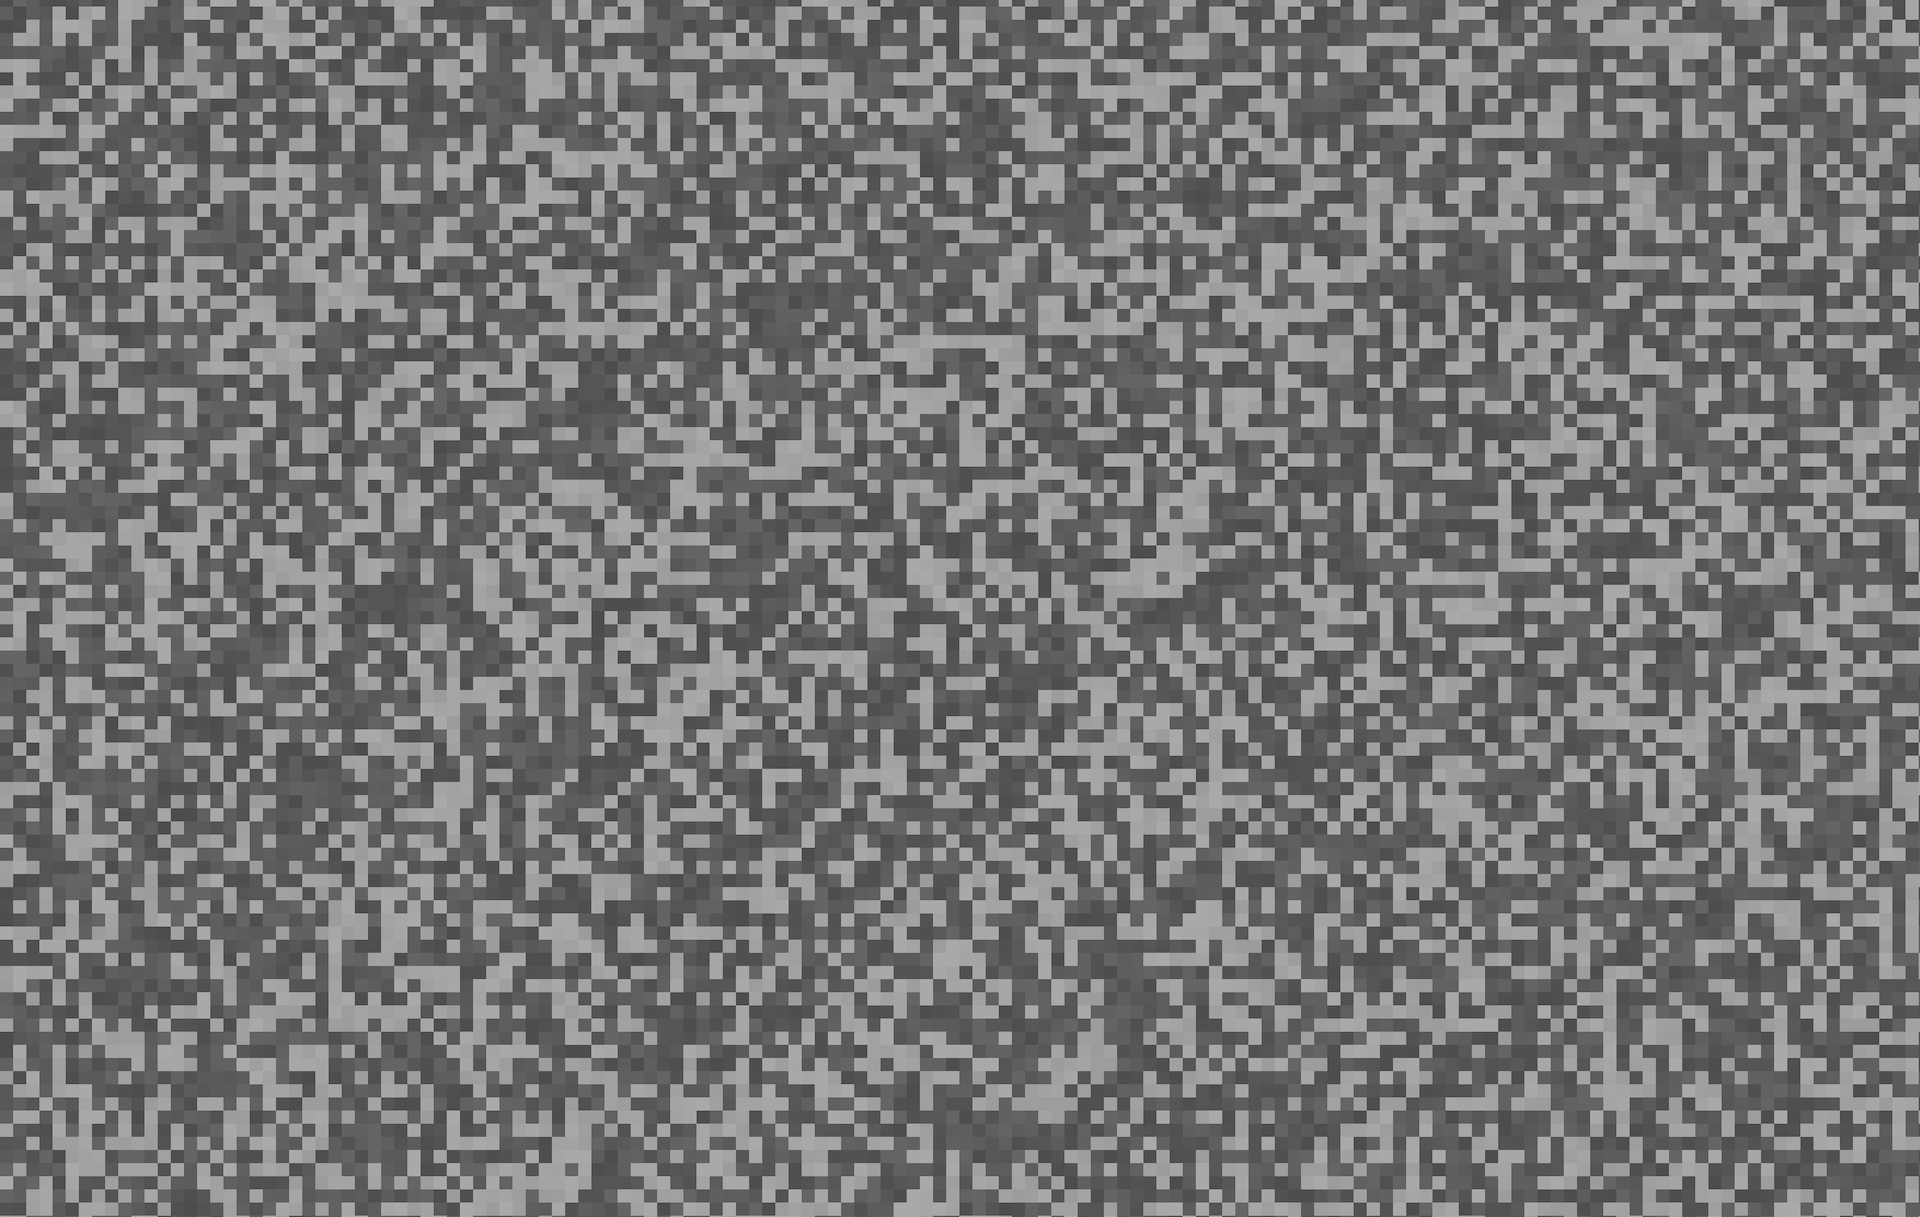
This noise looks promising: it's quite random, but always yields the same result for a given seed. But going from this to a cohesive world map still seems like a leap. Let's change our hash function, so that it'll return the same color within a square of 10 pixels:
private function hash(Point $point): float
{
$baseX = ceil($point->x / 10);
$baseY = ceil($point->y / 10);
$hash = bin2hex(
hash(
algo: 'xxh32',
data: $this->seed * $baseX * $baseY,
)
);
$hash = floatval('0.' . $hash);
return sqrt($hash);
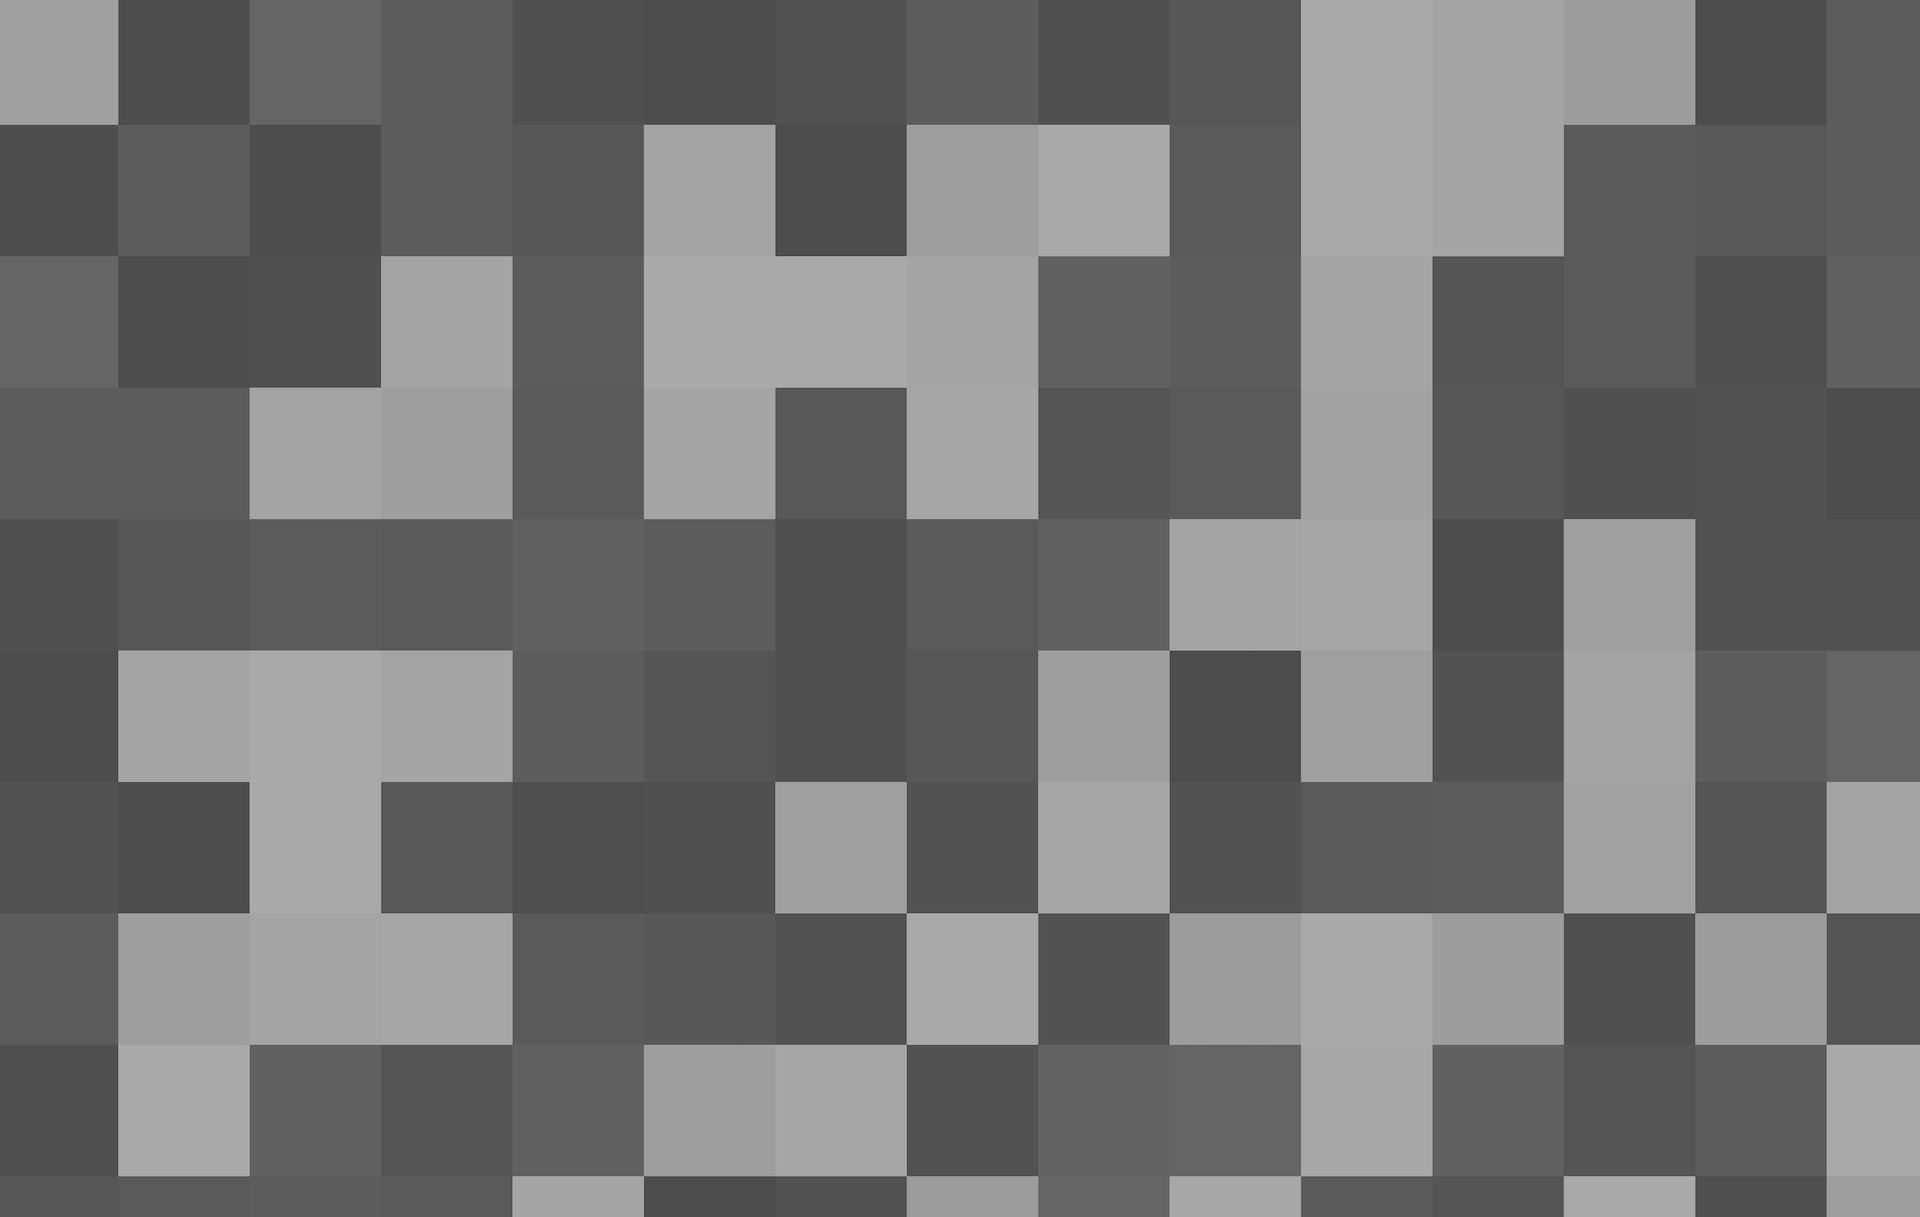
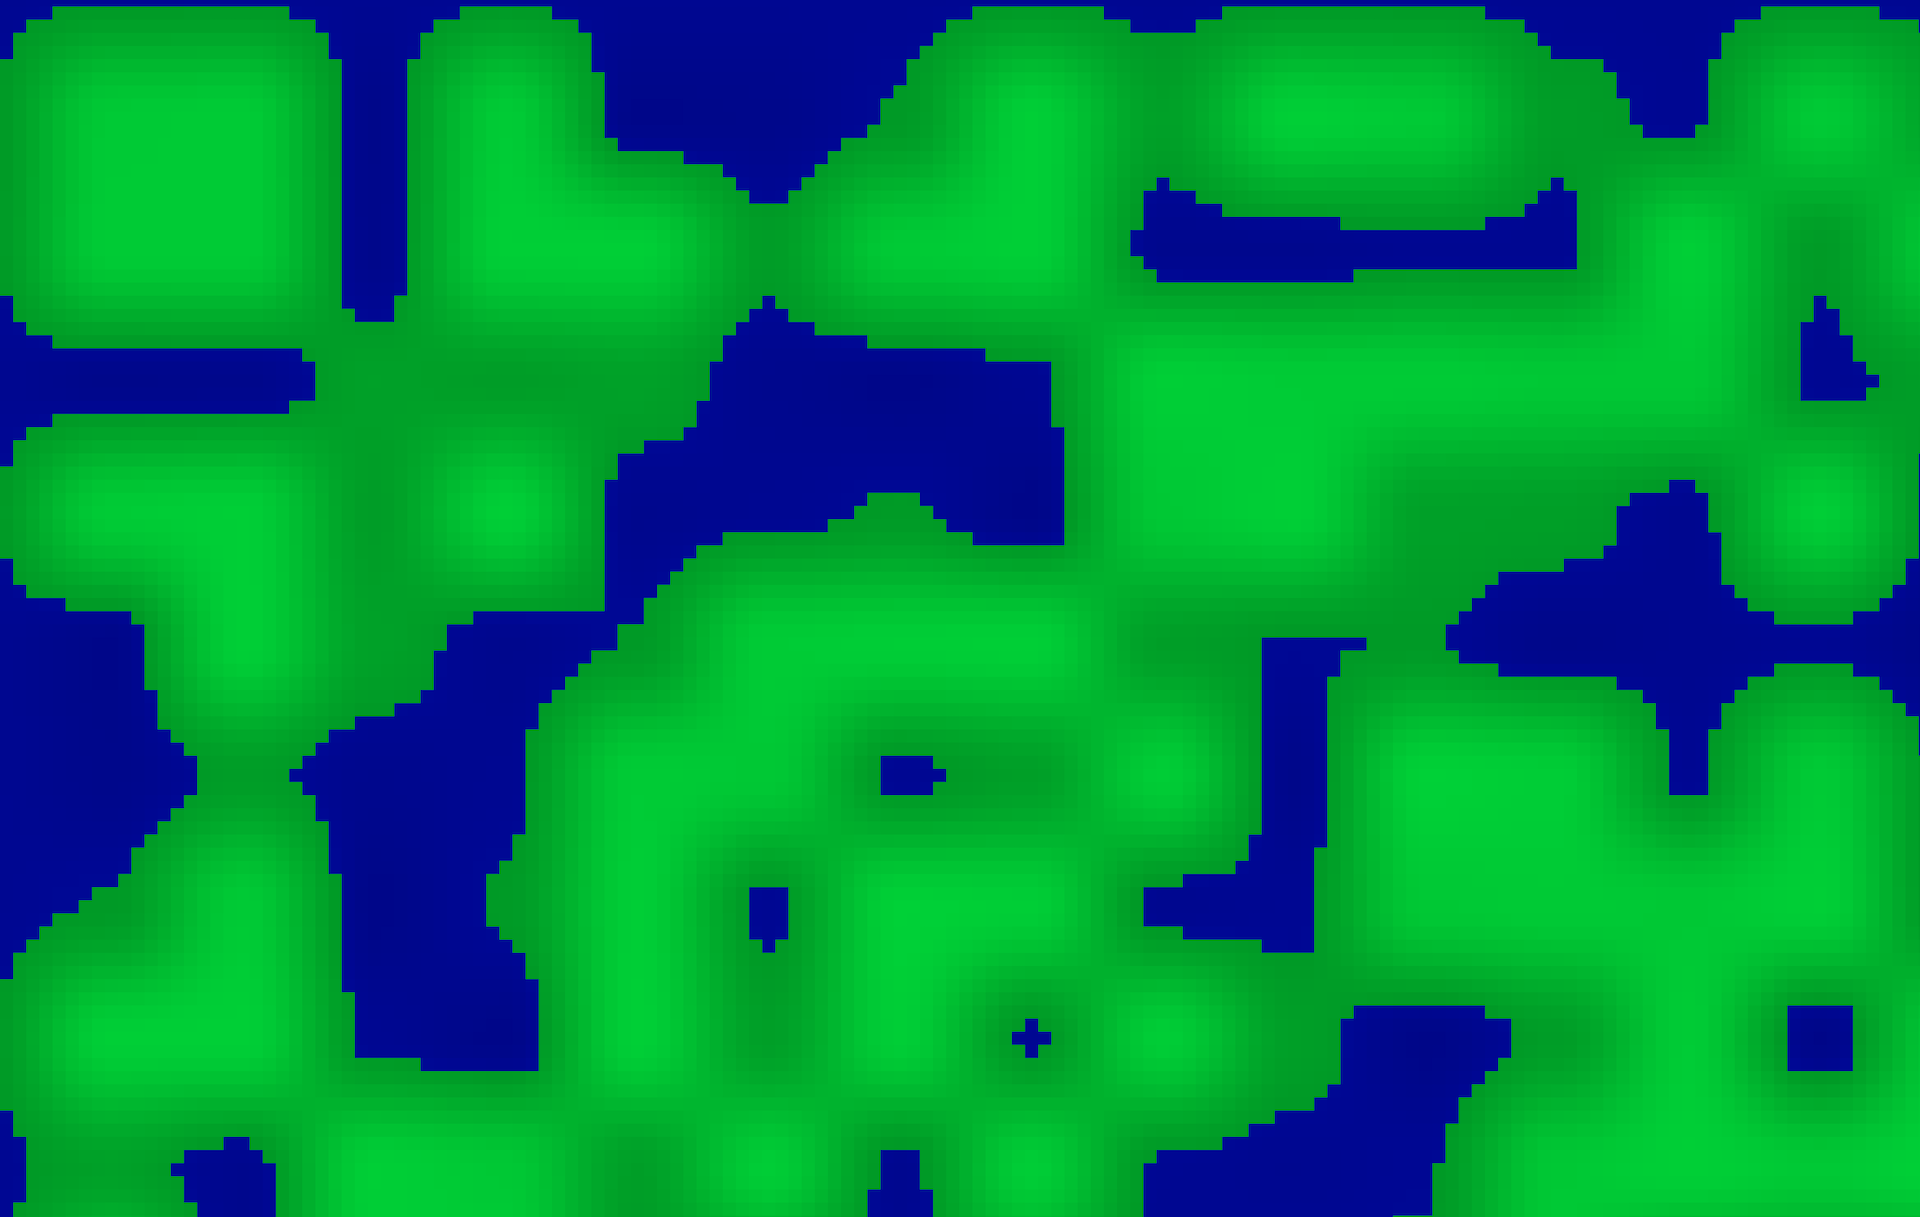
}Here's the result:
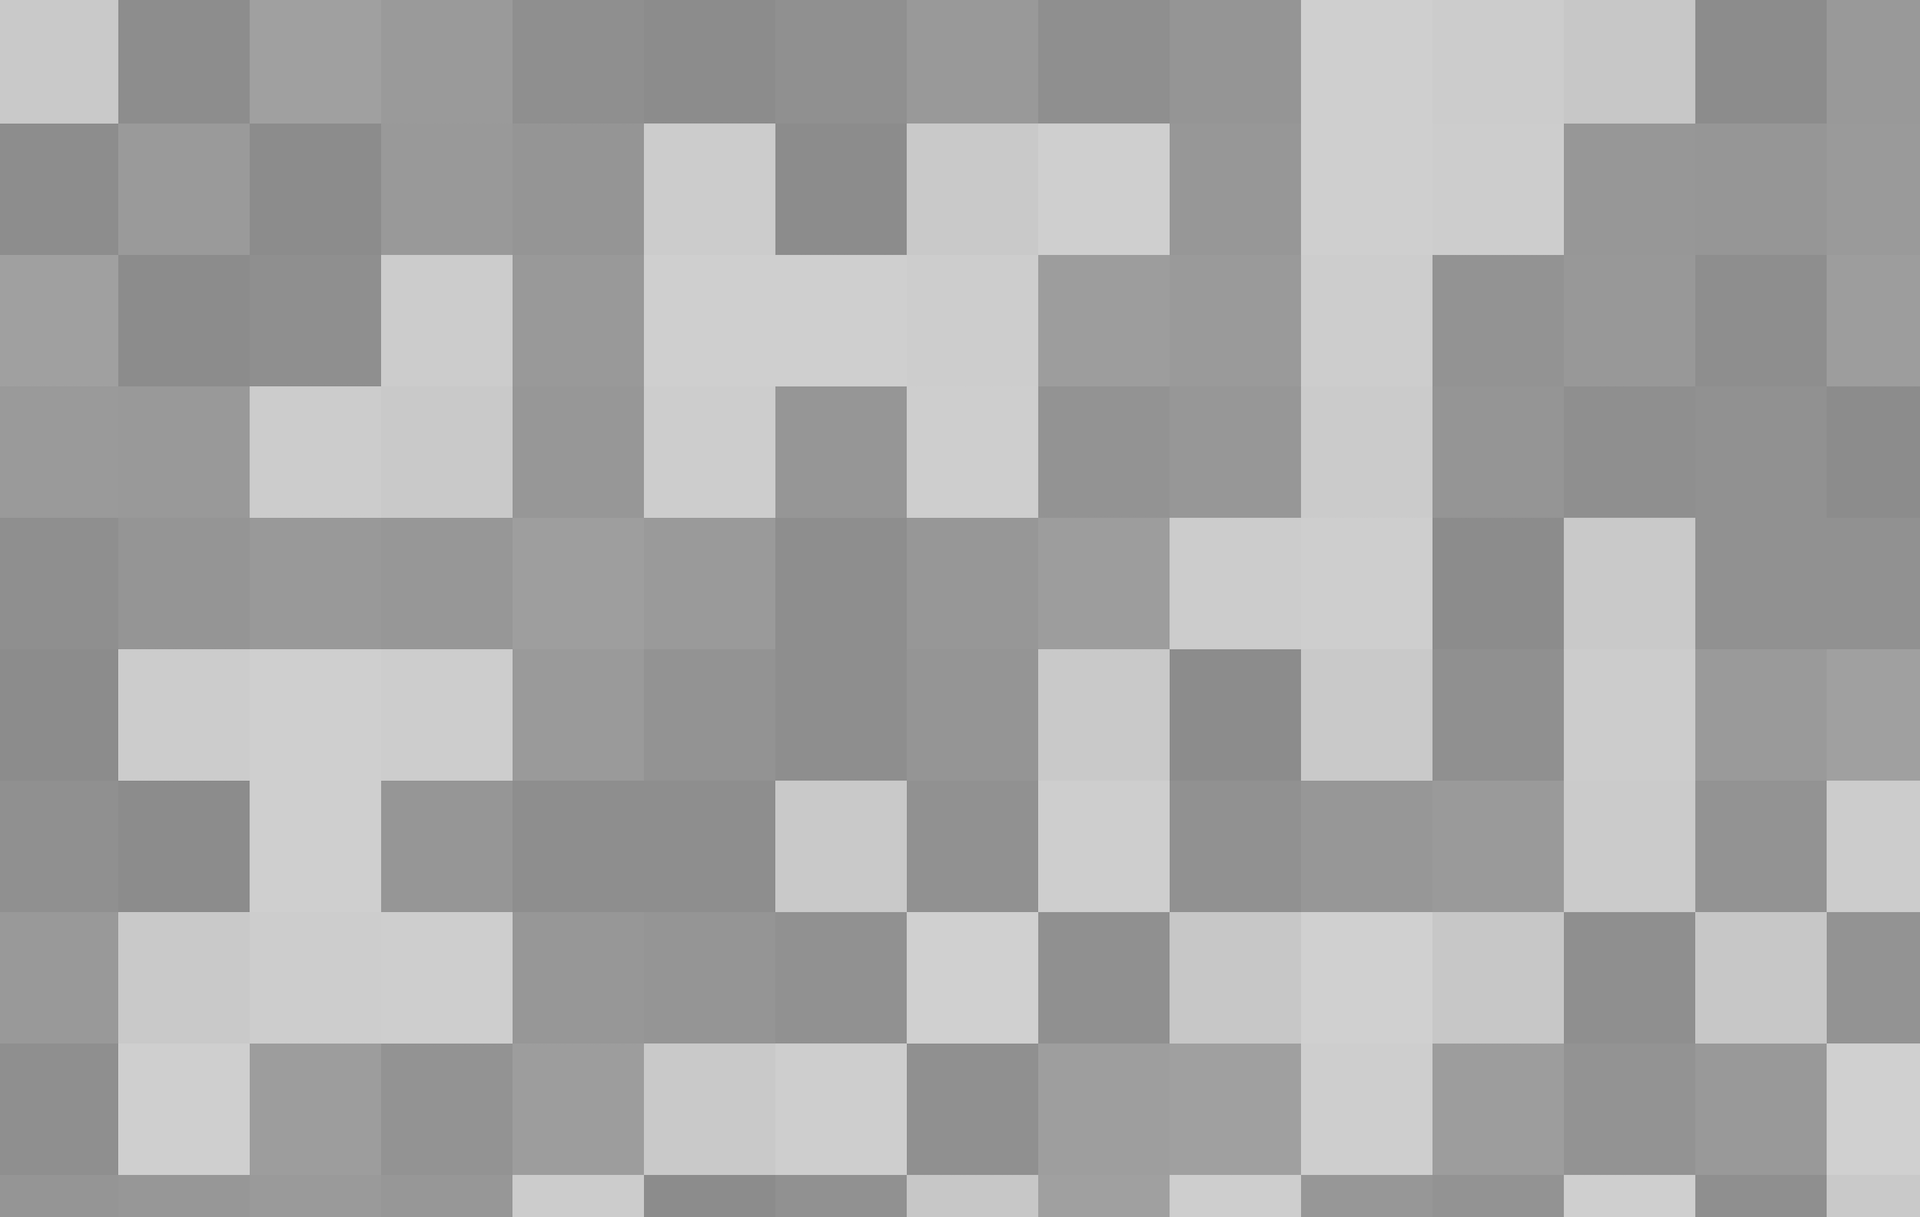
Oh, by the way: I take the square root of the hash, just to increase all values a little bit. That'll be useful in the future, but not necessary. Without the square root, the map looks like this:
Let's imagine something for a second. Let's say all pixels with a value higher than 0.6 are considered land, and all pixels with a lower value are considered water. Let's make some changes to our drawPixel method to reflect that behaviour:
function drawPixel(int $x, int $y, float $value): string
{
    $hexFromNoise = hex($value);

    $color = match(true) {
        $noise < 0.6 => "#0000{$hexFromNoise}", // blue
        default => "#00{$hexFromNoise}00", // green
    };

    return <<<HTML
    <div style="--x: {$x}; --y: {$y}; --pixel-color: {$color}"></div>
    HTML;
}
By the way, that hex function converts a value between 0 and 1 to a two-digit hexadecimal. It looks like this:
function hex(float $value): string
{
    if ($value > 1.0) {
        $value = 1.0;
    }
    $hex = dechex((int) ($value * 255));
    if (strlen($hex) < 2) {
        $hex = "0" . $hex;
    }
    return $hex;
}
The result is looking a lot more like a map already:
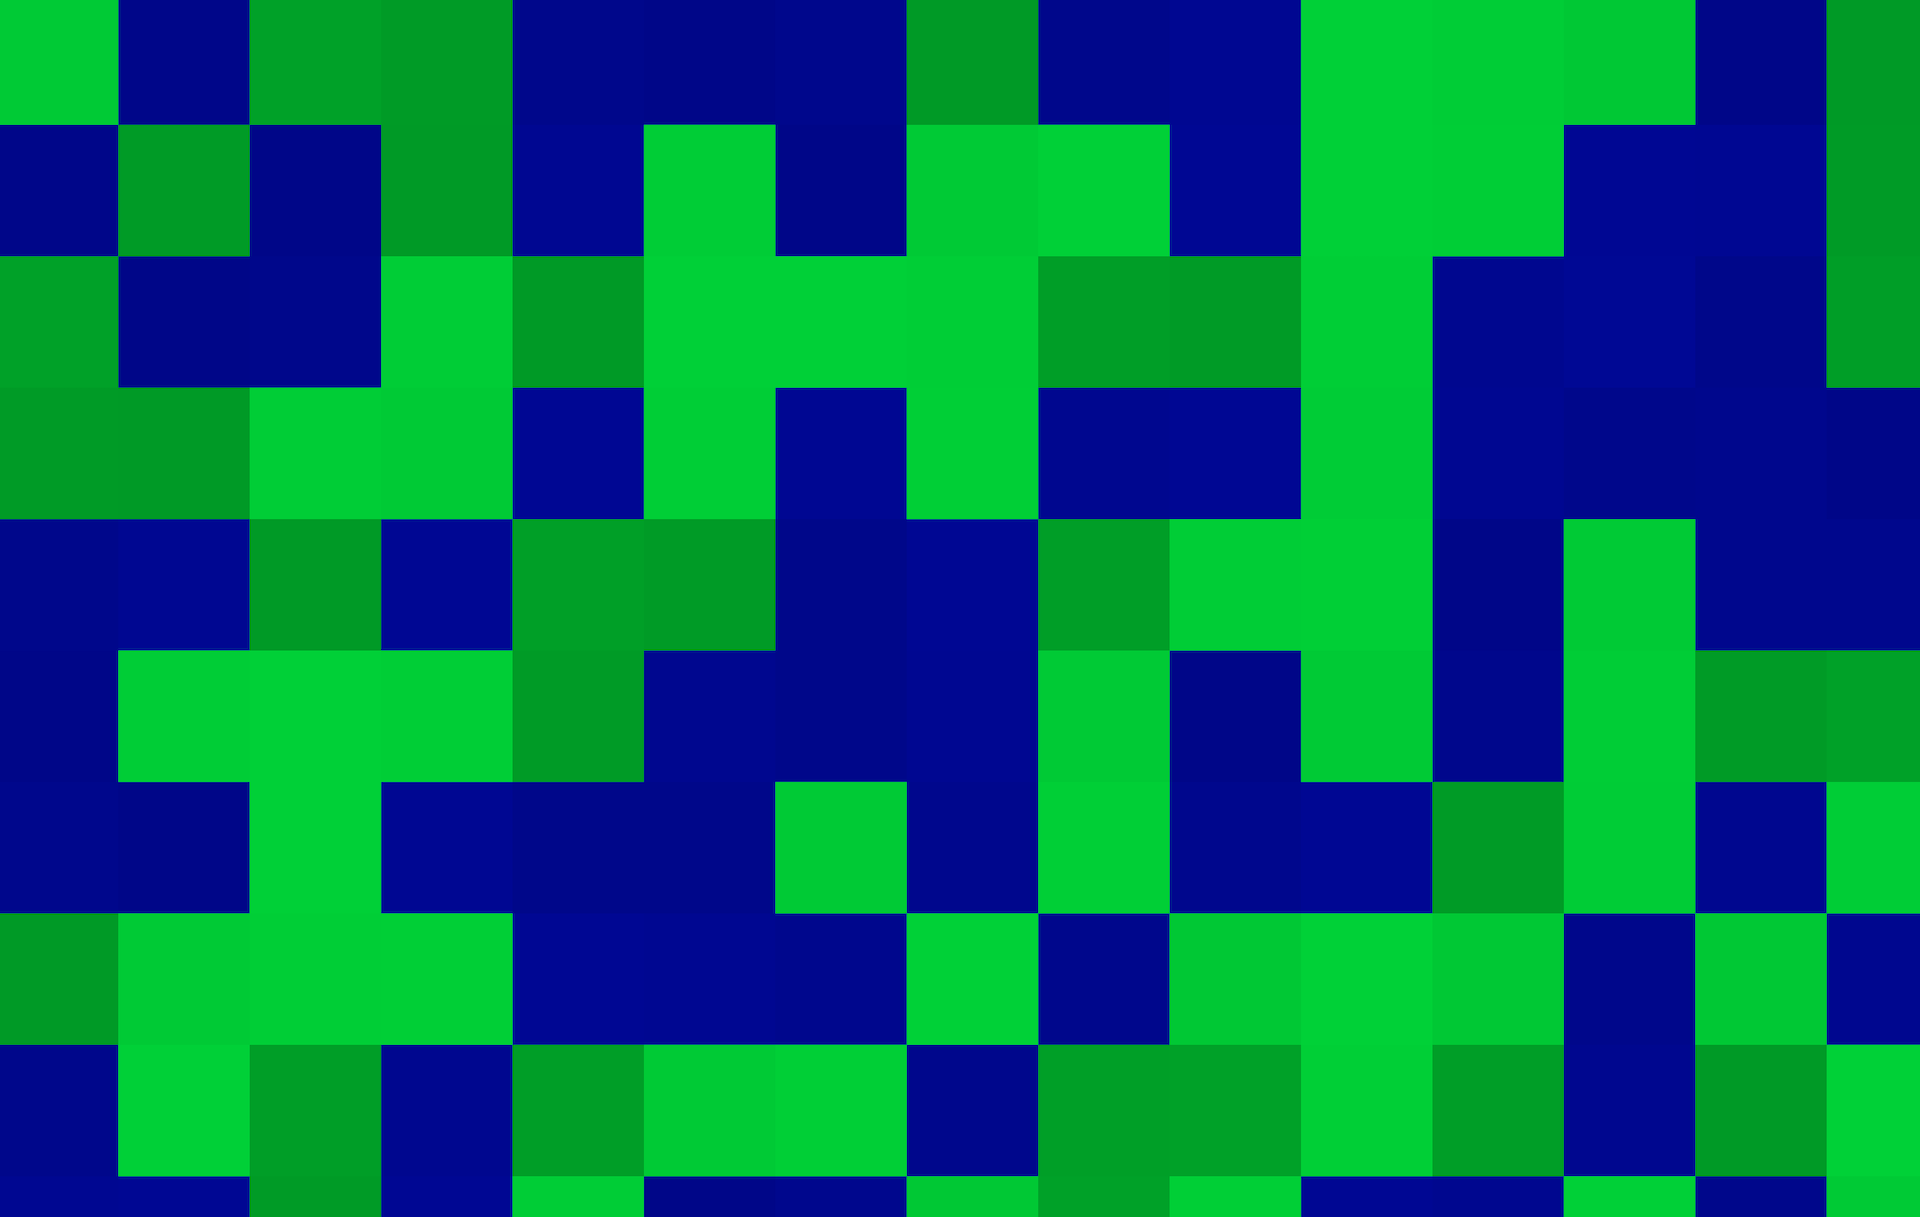
Ok, pretty nice! But these sharp edges don't really look realistic. Can we find a way to make transitions between the edges more smooth?
# Lerp
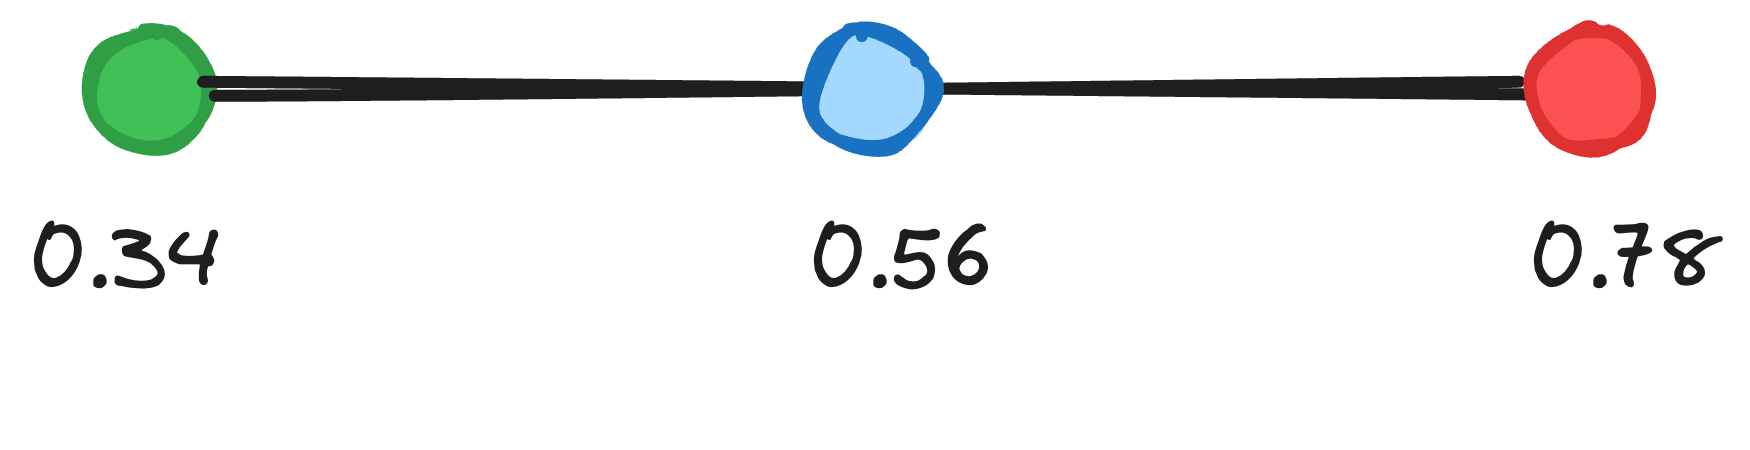
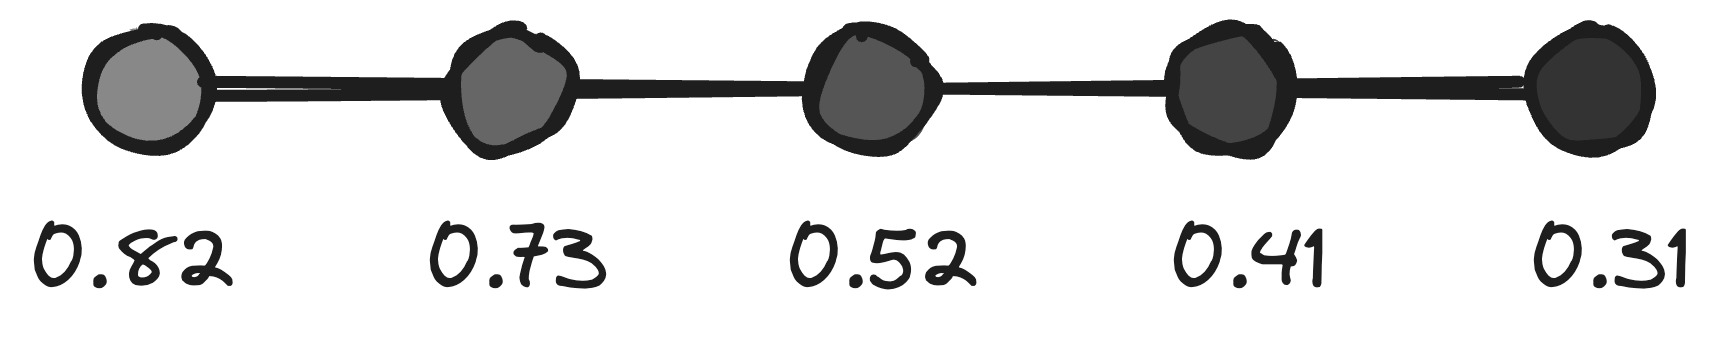
Time for some maths. Let's say we have two values: 0.34 and 0.78. We want to know the value exactly in the middle between these two. How do we do that?

Well, there's a simple mathematical formula for that. It's called "Linear Interpolation" — "LERP" for short:
function lerp(float $a, float $b, float $fraction): float
{
    return $a + $fraction * ($b - $a);
}
lerp(0.34, 0.78, 0.5); // 0.56
So, given a number $a (0.34), a number $b (0.78), and a fraction (0.5, also known as: "half"); we get 0.56 — the number exactly in the middle between 0.34 and 0.78.
Thanks to the fraction part in our lerp formula, we can determine the value at any place between these points, not just the middle:
lerp(0.34, 0.78, 0.25); // 0.45
Ok, so why is this important? Well, we can use our lerp function to smooth edges! Let go back to our noise pattern and explain:
Let's say that, instead of coloring each pixel in this grid, we only color a pixel when it's exactly on a 10x10 lattice. In other words: when its x and y coordinates are dividable by 10.
final readonly class Noise
{
public function generate(Point $x): float
{
if ($point->x % 10 === 0 && $point->y % 10 === 0) {
return $this->hash($point);
} else {
return 0.0;
}
}
// …
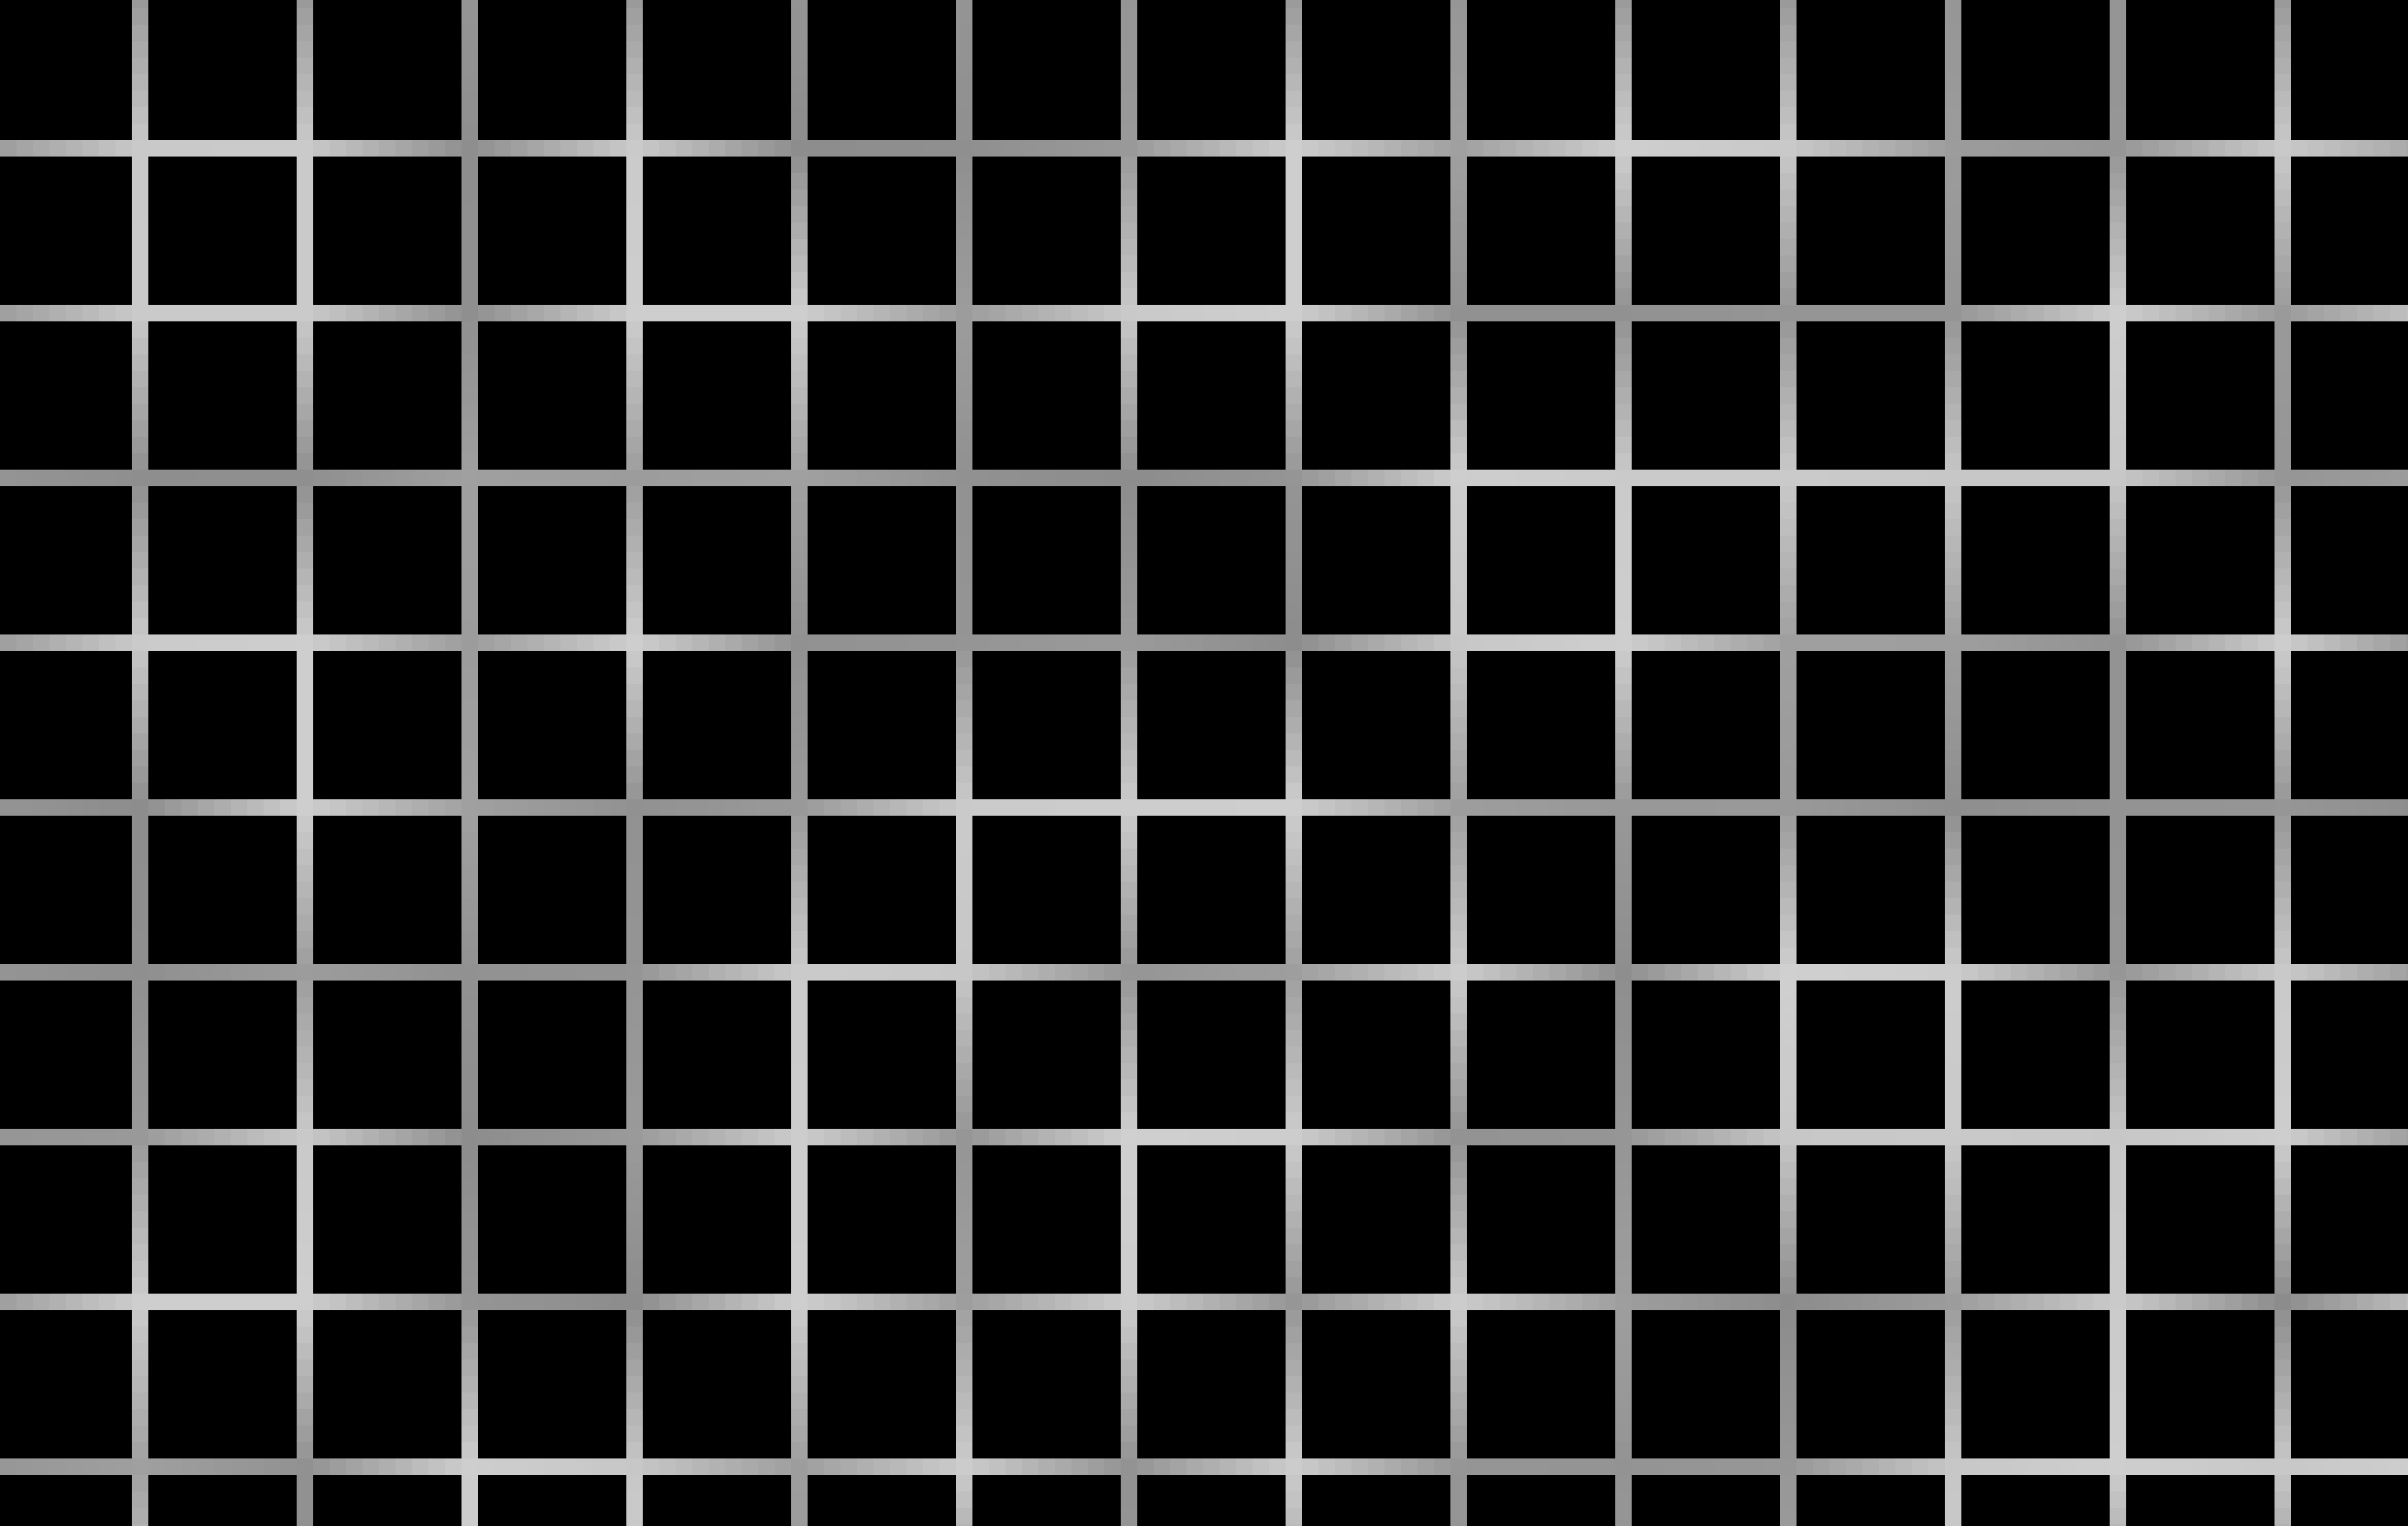
}Here's the lattice:
Let's imagine that these pixels are the $a and $b boundaries we pass into our lerp function. For any given pixel, it's trivial to determine these surrounding "fixed" points (they are on a fixed 10x10 grid) and we can also calculate the pixel's relative distance to those points. We can use the hash of these fixed points and the distance from any pixel to these points as input values for our lerp function. The result will be a value that's somewhere between the values of our two edge points — in other words: a smooth transition.
First, we'll use our lerp function on the y-axis (whenever x is dividable by 10). We'll determine the relative top and bottom points on our "lattice", calculate the distance between our current point and the top point, and then we'll use our lerp function to determine the right value between the top and bottom point, with that distance fraction:
if ($point->x % 10 === 0 && $point->y % 10 === 0) {
$noise = $this->hash($point);
} elseif ($point->x % 10 === 0) {
$topPoint = new Point(
x: $point->x,
y: (floor($point->y / 10) * 10),
// The closest point dividable by 10, above our current pixel
);
$bottomPoint = new Point(
x: $point->x,
y: (ceil($point->y / 10) * 10)
// The closest point dividable by 10, below our current pixel
);
$noise = lerp(
// The hash value (or color) of that top point:
a: $this->hash($topPoint),
// The hash value (or color) of that bottom point:
b: $this->hash($bottomPoint),
// The distance between our current point and the top point
// — the fraction
fraction: ($point->y - $topPoint->y) / ($bottomPoint->y - $topPoint->y),
);
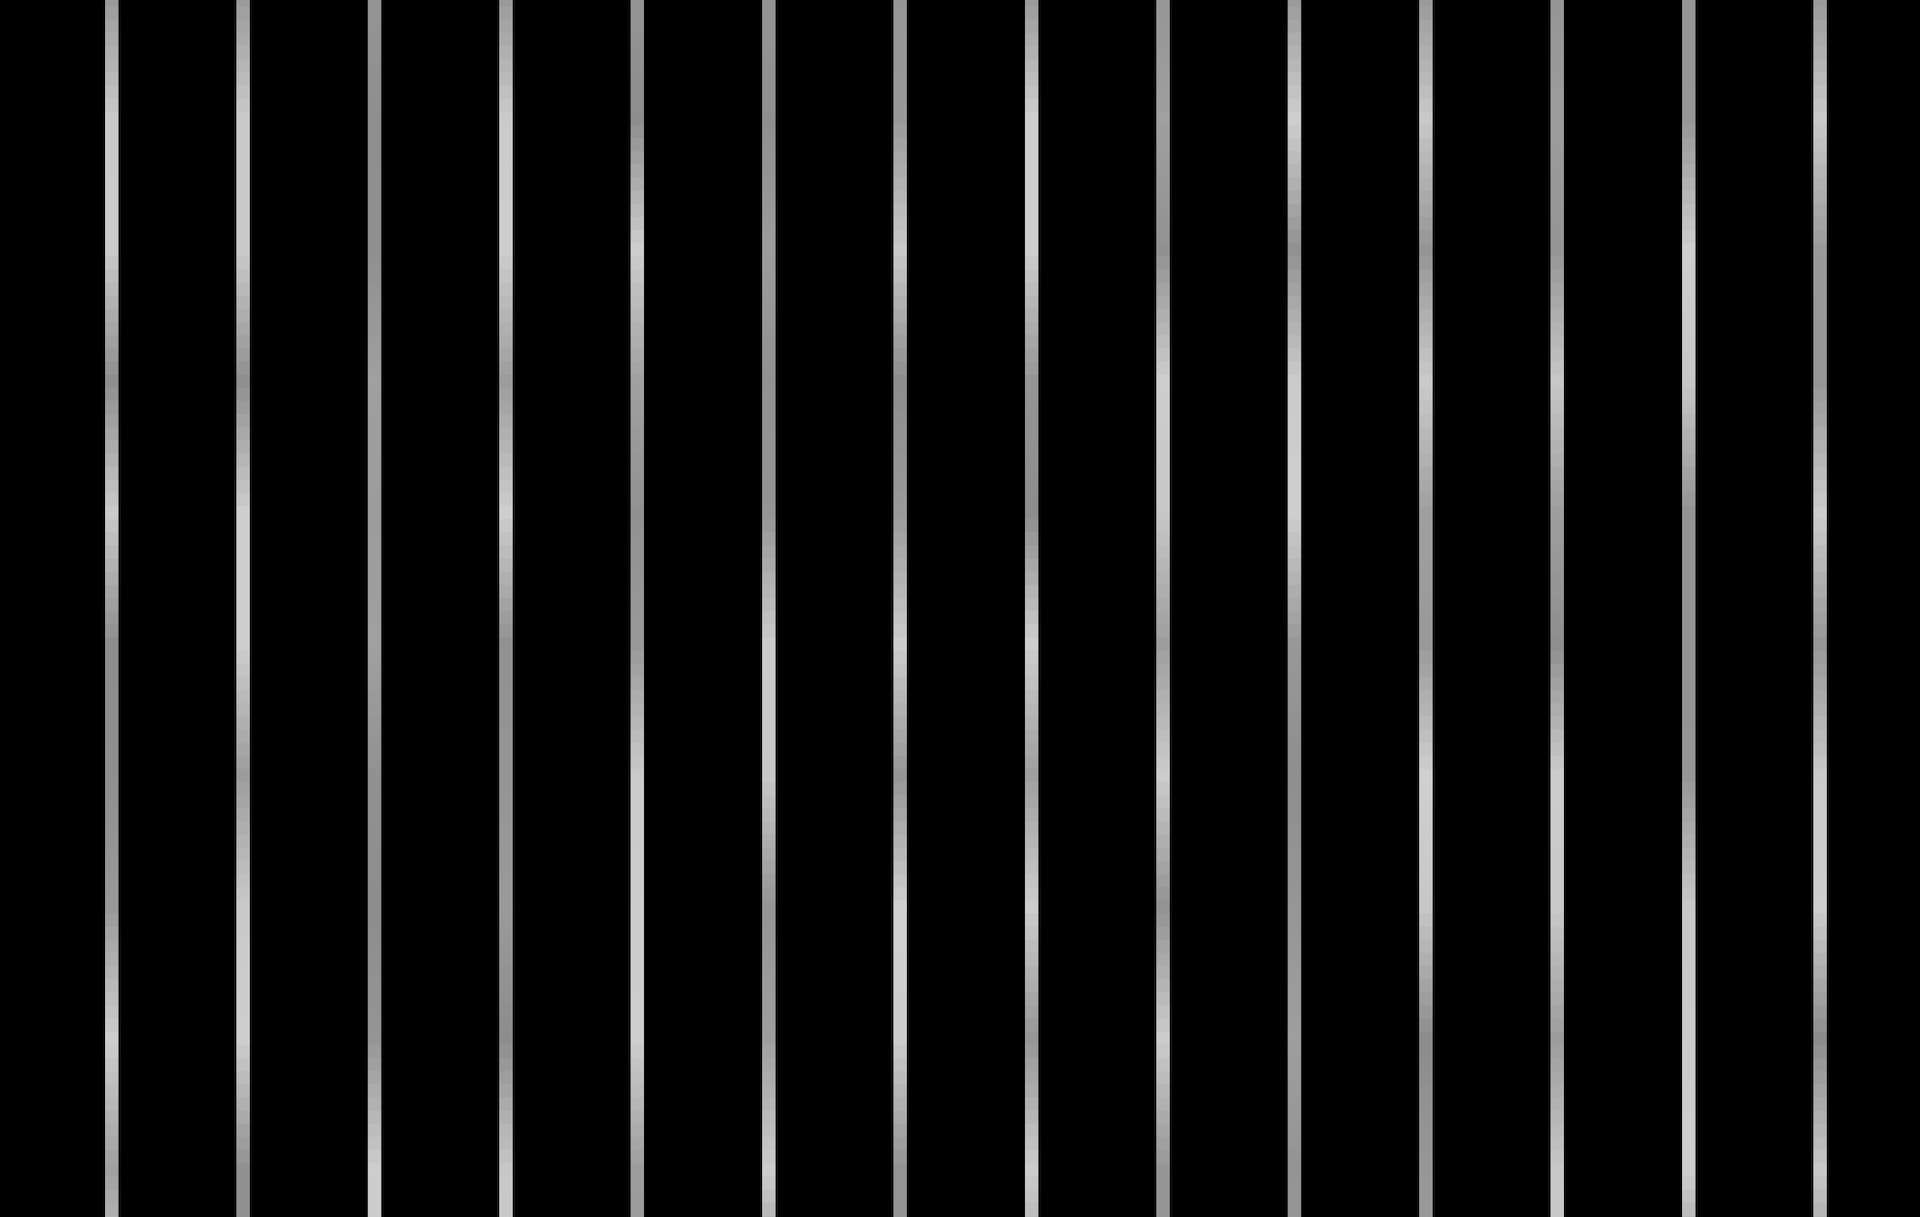
}Here's the result, you can already see the smooth transition within the lines:
Next, let's add the same functionality in the other direction, when y is dividable by 10:
if ($point->x % 10 === 0 && $point->y % 10 === 0) {
    // …
} elseif ($point->x % 10 === 0) {
    // …
} elseif ($point->y % 10 === 0) {
    $leftPoint = new Point(
        x: (floor($point->x / 10) * 10),
        y: $point->y,
    );
    $rightPoint = new Point(
        x: (ceil($point->x / 10) * 10),
        y: $point->y,
    );
    $noise = lerp(
        $this->hash($leftPoint),
        $this->hash($rightPoint),
        ($point->x - $leftPoint->x) / ($rightPoint->x - $leftPoint->x),
    );
}
No surprises:
Finally, for the remainder of the pixels, we won't be able to do a simple lerp function (which only works in one dimension). We'll have to use Bilinear Interpolation: we'll first make two lerp values for both x-axes, and then one final lerp value for the y-axis. We'll also need four edge points instead of two, because these pixels aren't aligned with our lattice.
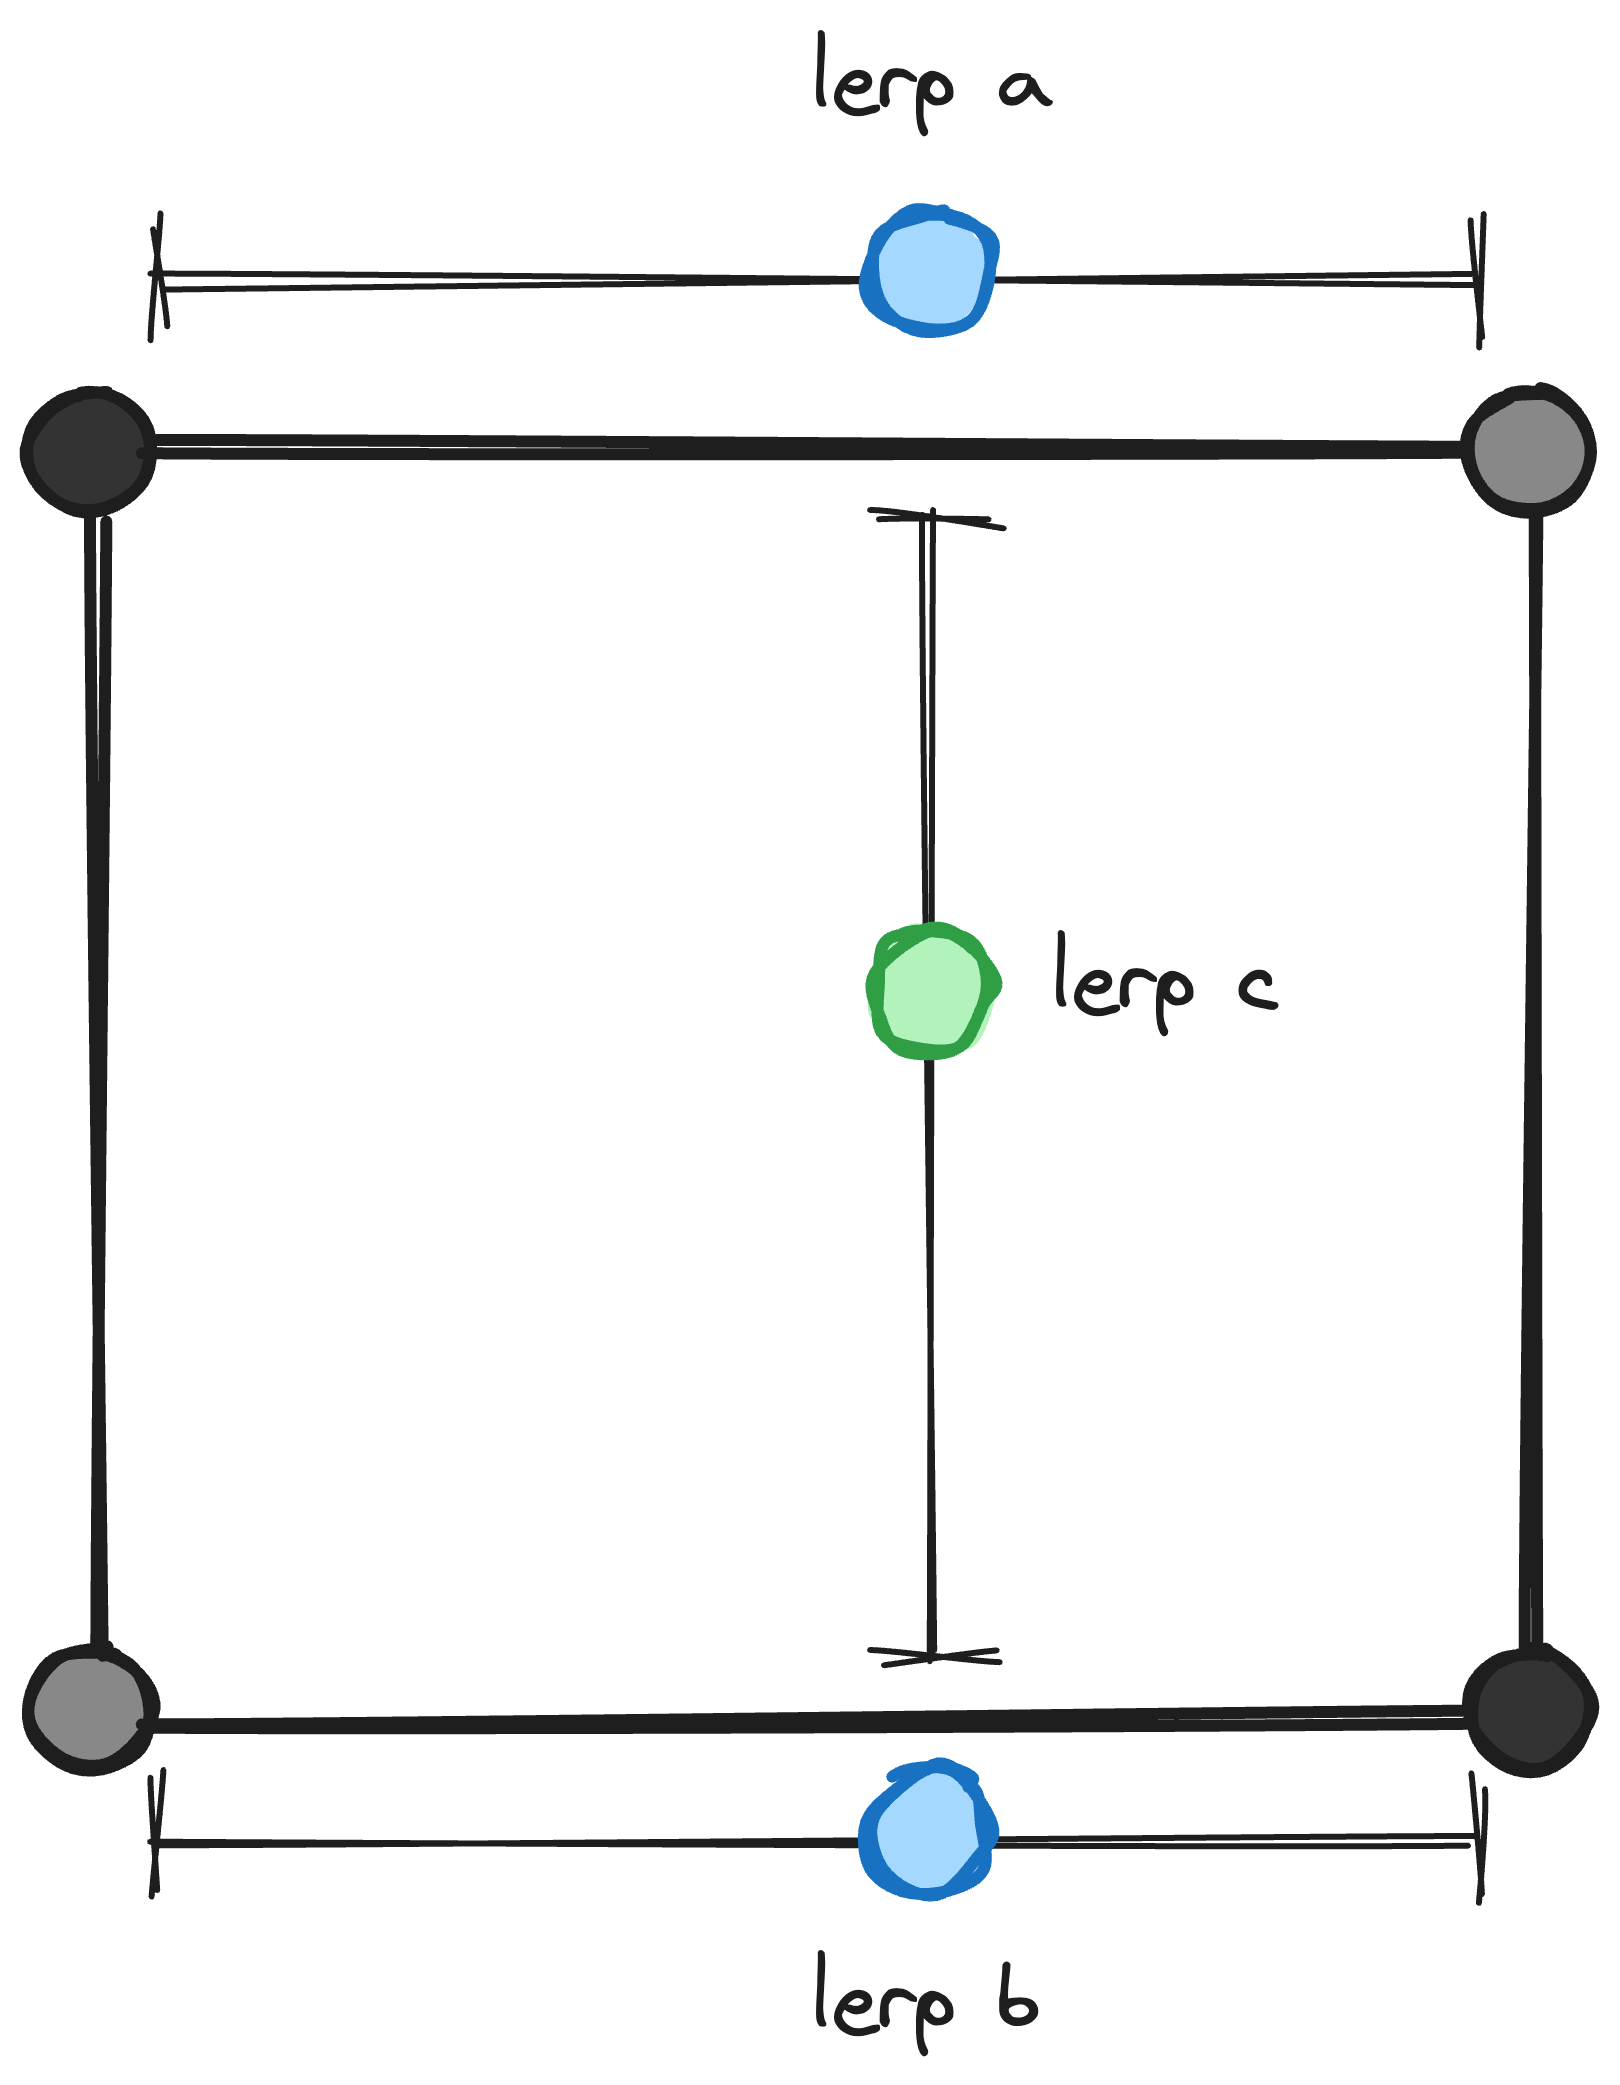
if ($point->x % 10 === 0 && $point->y % 10 === 0) {
// …
} elseif ($point->x % 10 === 0) {
// …
} elseif ($point->y % 10 === 0) {
// …
} else {
$topLeftPoint = new Point(
x: (floor($point->x / 10) * 10),
y: (floor($point->y / 10) * 10),
);
$topRightPoint = new Point(
x: (ceil($point->x / 10) * 10),
y: (floor($point->y / 10) * 10),
);
$bottomLeftPoint = new Point(
x: (floor($point->x / 10) * 10),
y: (ceil($point->y / 10) * 10)
);
$bottomRightPoint = new Point(
x: (ceil($point->x / 10) * 10),
y: (ceil($point->y / 10) * 10)
);
$a = lerp(
$this->hash($topLeftPoint),
$this->hash($topRightPoint),
($point->x - $topLeftPoint->x) / ($topRightPoint->x - $topLeftPoint->x),
);
$b = lerp(
$this->hash($bottomLeftPoint),
$this->hash($bottomRightPoint),
($point->x - $bottomLeftPoint->x) / ($bottomRightPoint->x - $bottomLeftPoint->x),
);
$noise = lerp(
$a,
$b,
($point->y - $topLeftPoint->y) / ($bottomLeftPoint->y - $topLeftPoint->y),
);
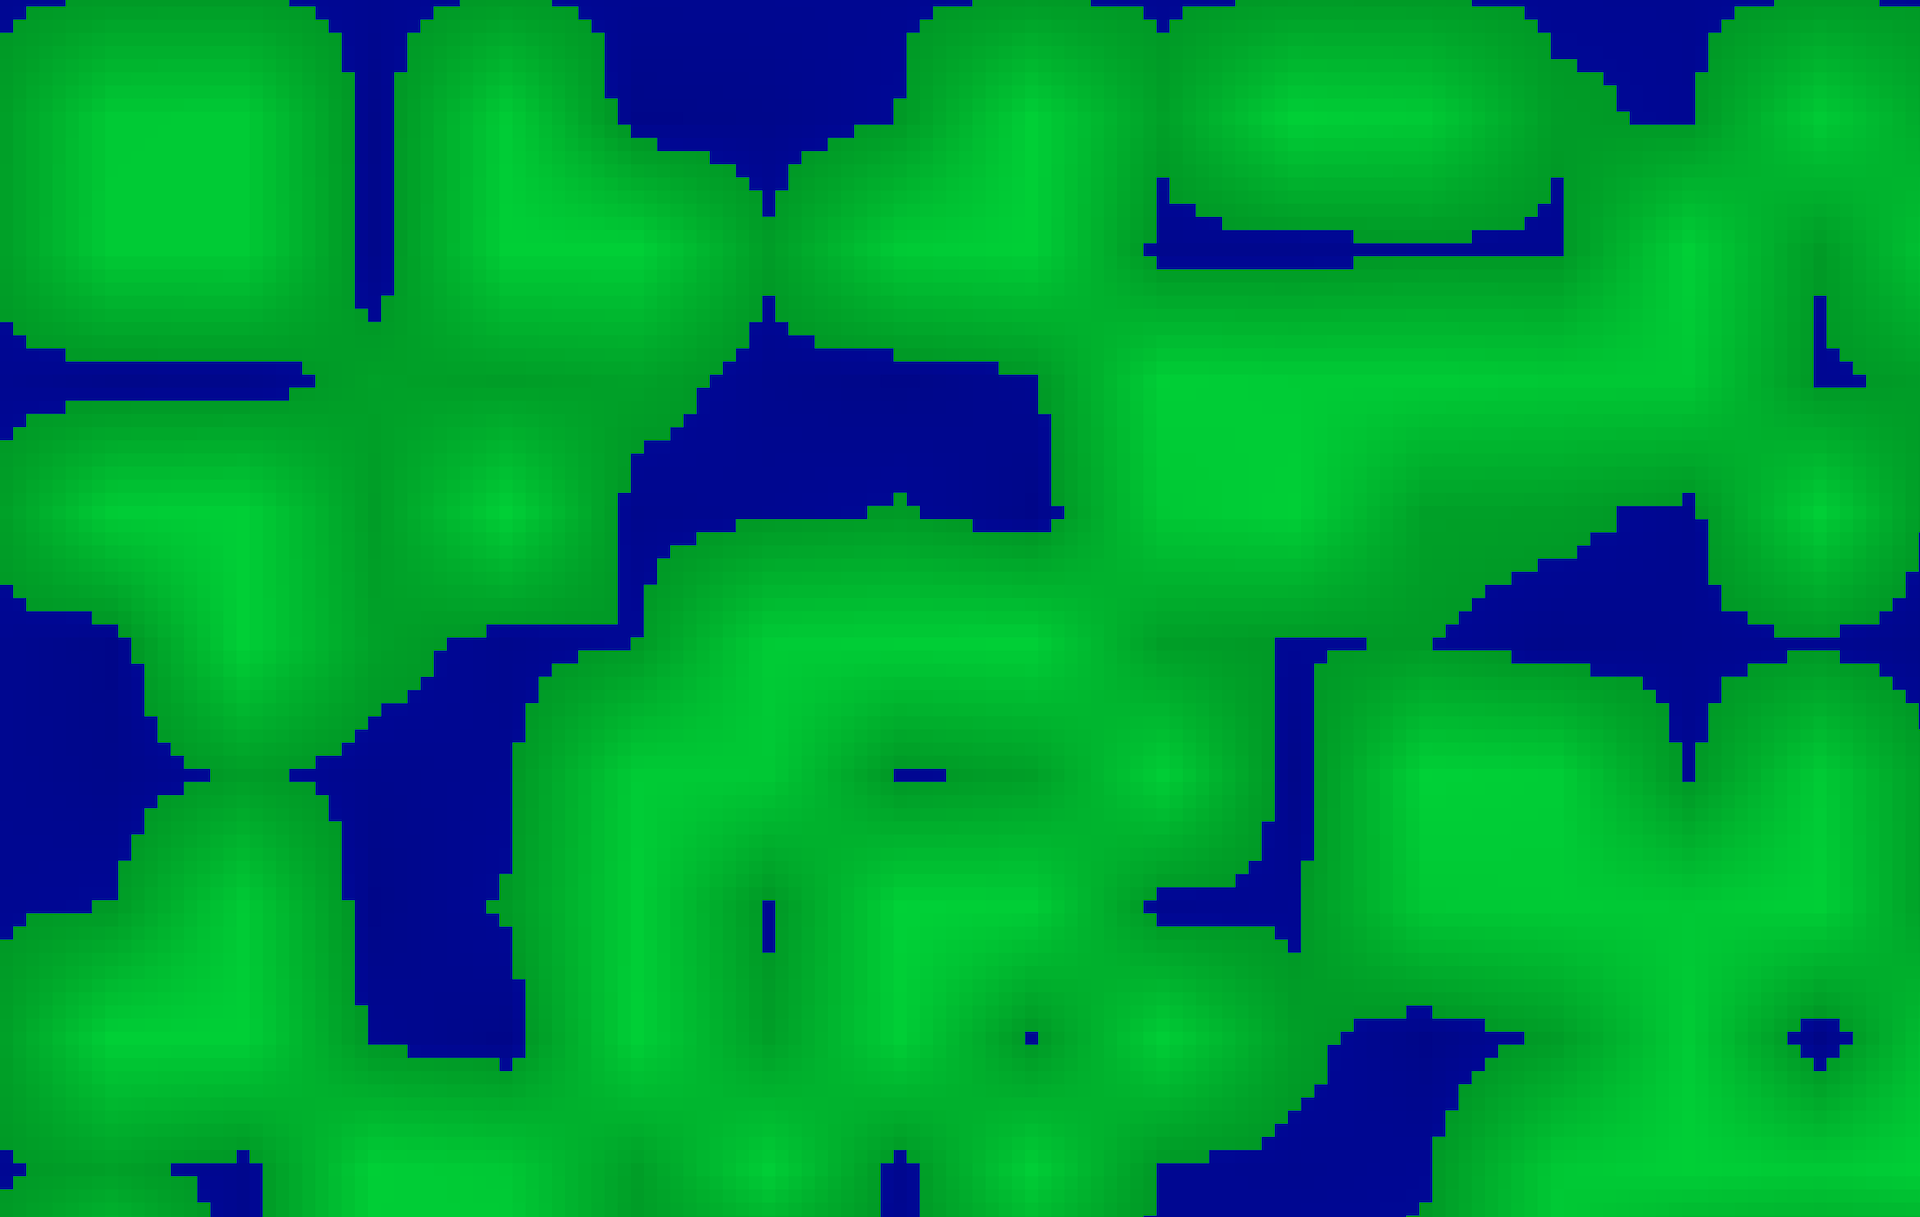
}Note that there's some repetition in our code that we could get rid of. But I prefer explicitly making all four edge points for clarity. Take a look at the result though:
This looks much smoother! Let's apply our colours:
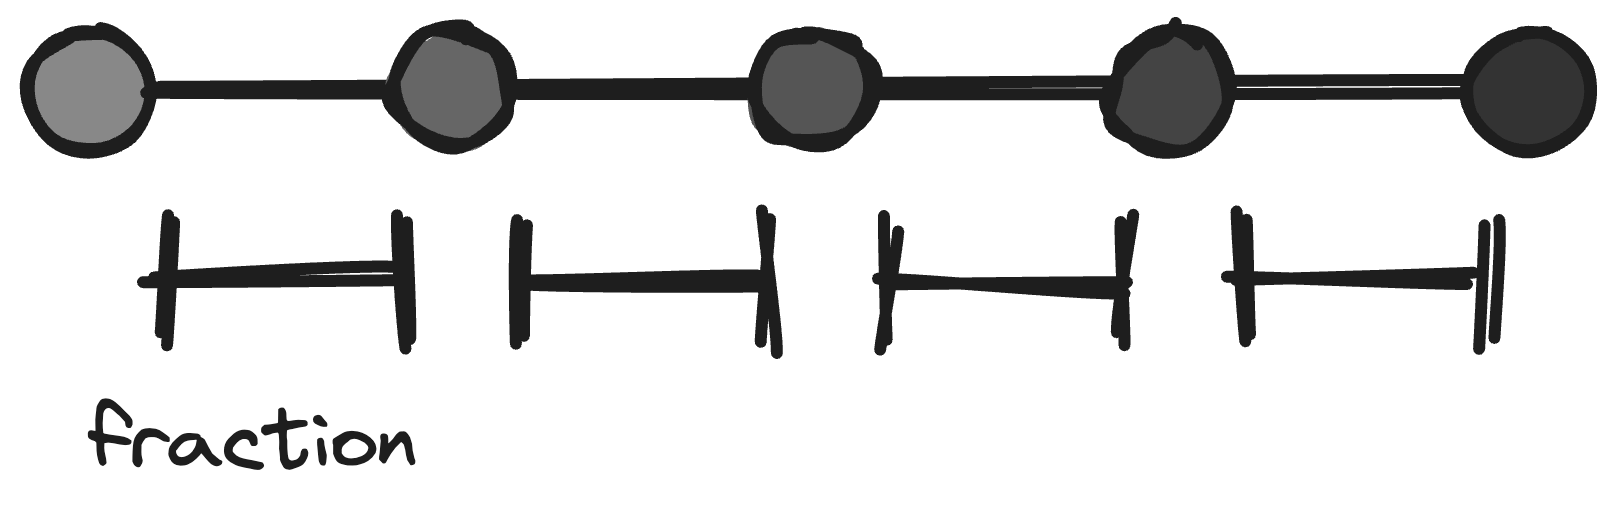
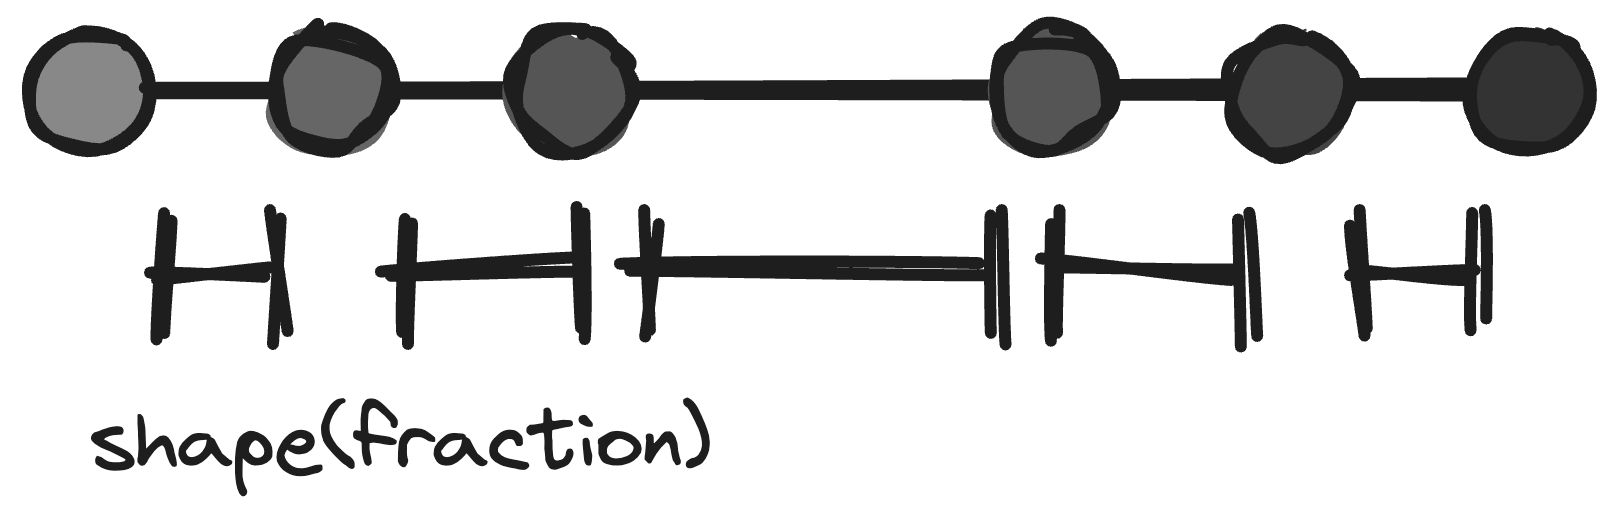
Hm. You can probably see where we're going, but I still think these lines are far too… rough. Luckily, there are two more tricks we can apply! First, instead of using a plain lerp function, we can apply a so-called "shaping function" to our fraction. With this shaping function, we can manipulate our fraction before passing it to the lerp function. By default, our fraction will have a linear value — it's the distance from any given point to the starting edge:
But by applying a function to our fraction, we can manipulate it so that the values closer to the edges are even more smooth.
We could use whatever function we'd want. For our case I'll use a shaping function called smoothstep, which smooths edges.
function smooth(float $a, float $b, float $fraction): float
{
    $smoothstep = function (float $fraction): float {
        $v1 = $fraction * $fraction;
        $v2 = 1.0  - (1.0 - $fraction) * (1.0 -$fraction);
        return lerp($v1, $v2, $fraction);
    };
    return lerp($a, $b, $smoothstep($fraction));
}
The difference is subtle, but it's a little bit better.
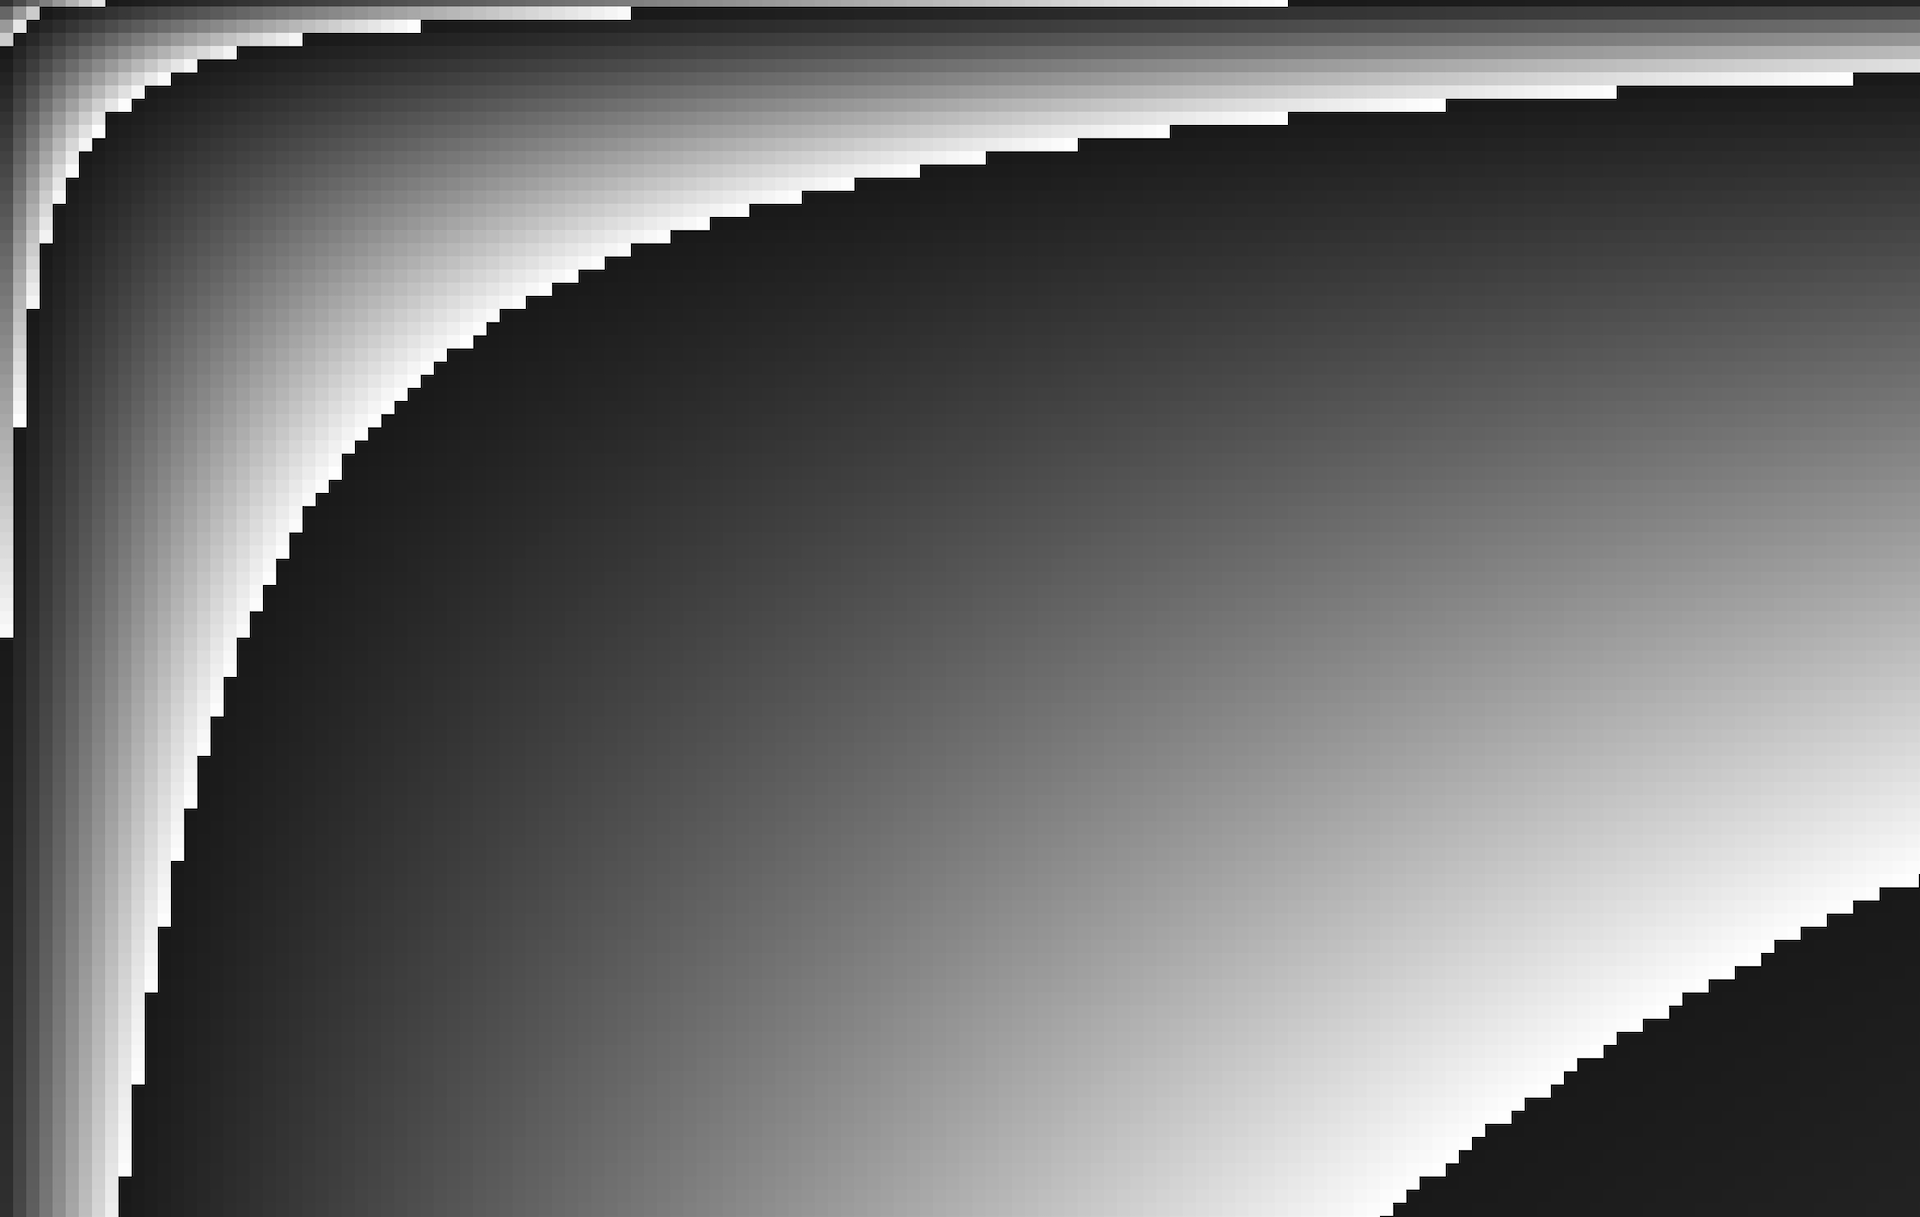
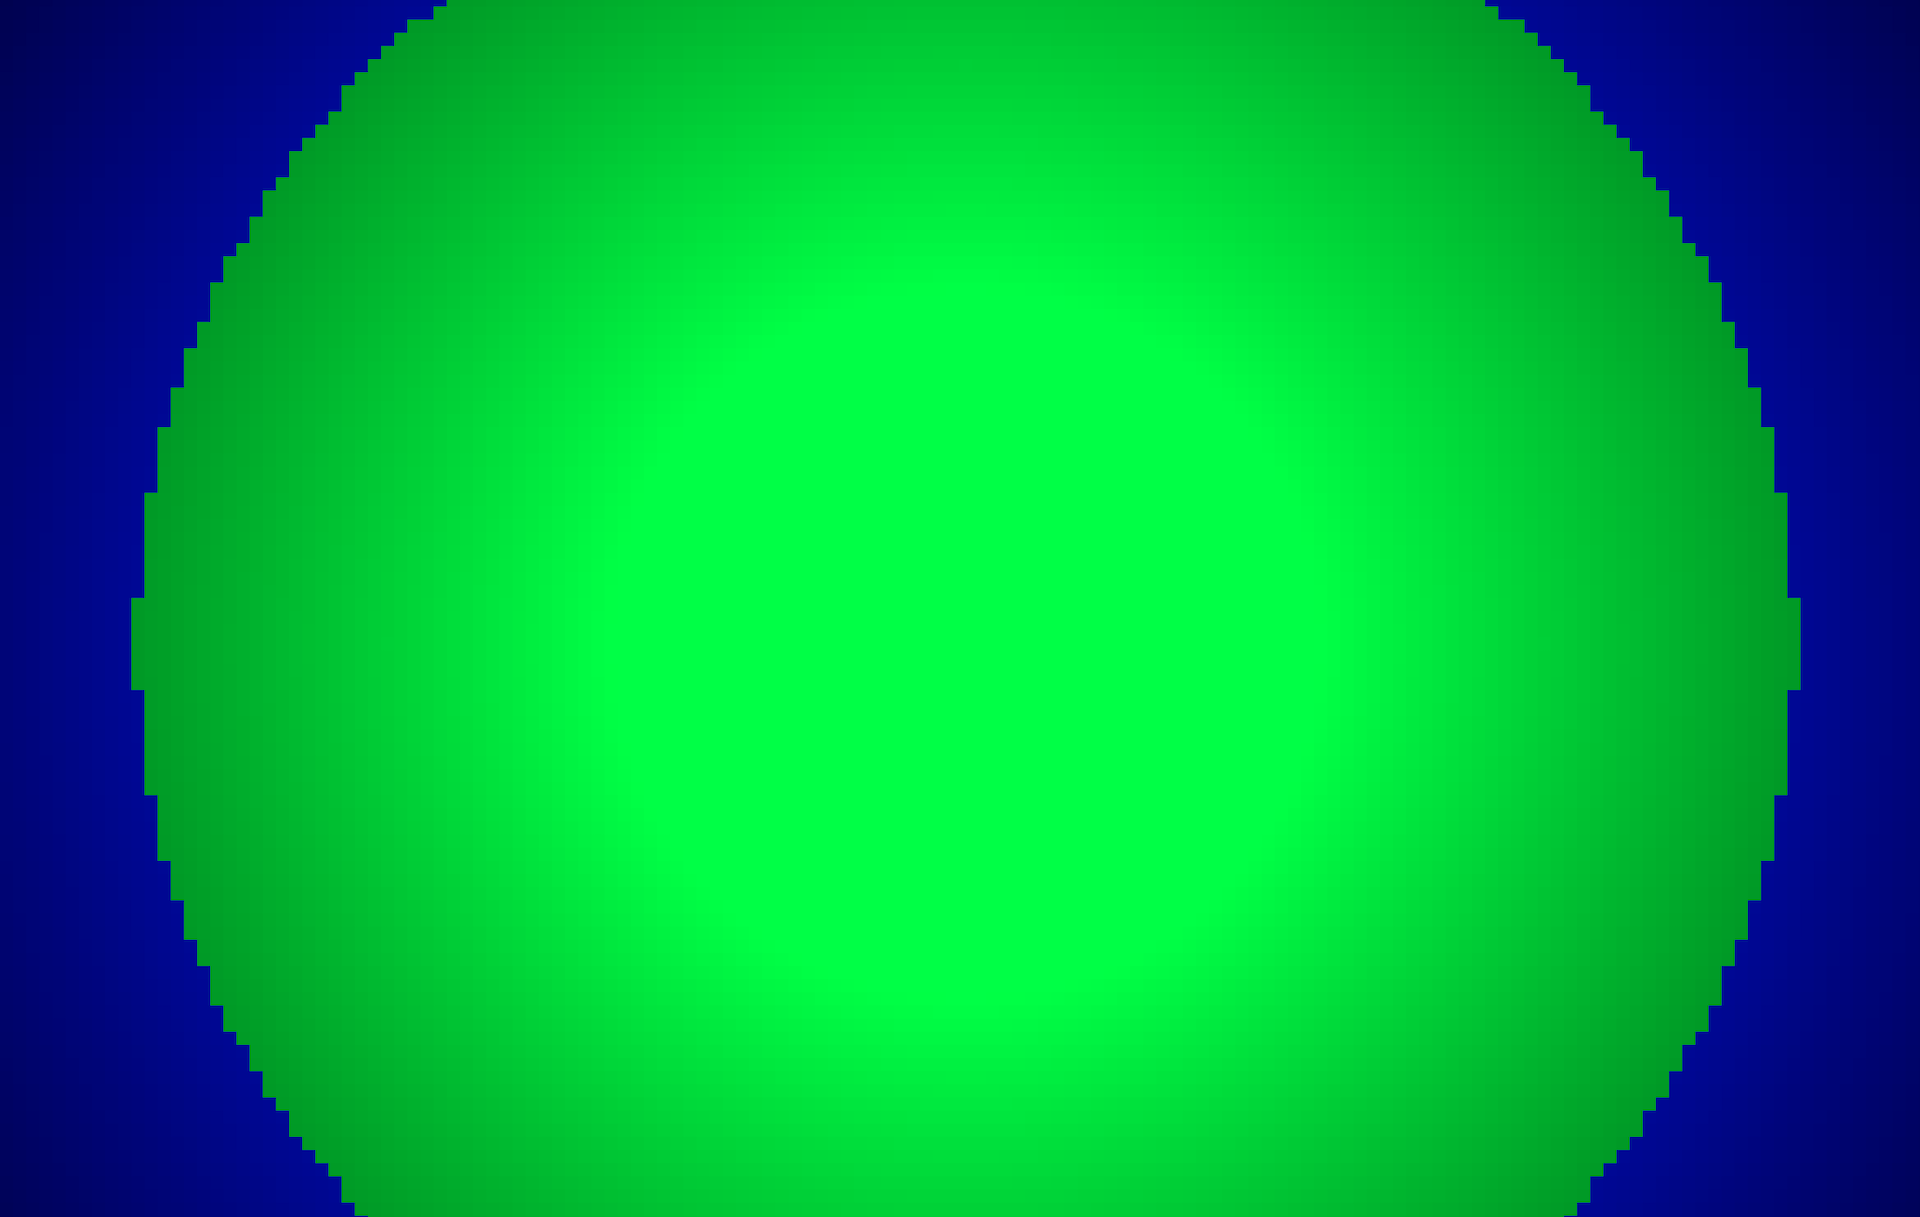
The second trick is to apply a new layer of noise. This one shouldn't be as random as our first one though. We'll use a simple circular pattern, and apply it as a height map on our existing noise. The further a pixel is from the center, the smaller its value:
private function circularNoise(int $totalWidth, int $totalHeight, Point $point): float
{
    $middleX = $totalWidth / 2;
    $middleY = $totalHeight / 2;
    $distanceFromMiddle = sqrt(
        pow(($point->x - $middleX), 2)
        + pow(($point->y - $middleY), 2)
    );
    $maxDistanceFromMiddle = sqrt(
        pow(($totalWidth - $middleX), 2)
        + pow(($totalHeight - $middleY), 2)
    );
    return 1 - ($distanceFromMiddle / $maxDistanceFromMiddle) + 0.3;
}
This is the pattern on its own:
And now we combine this pattern with our existing noise, which is as easy as multiplying them:
final readonly class Noise
{
public function __construct(
private int $seed,
) {}
public function generate(Point $point): float
{
return $this->baseNoise($point)
* $this->circularNoise($point);
}
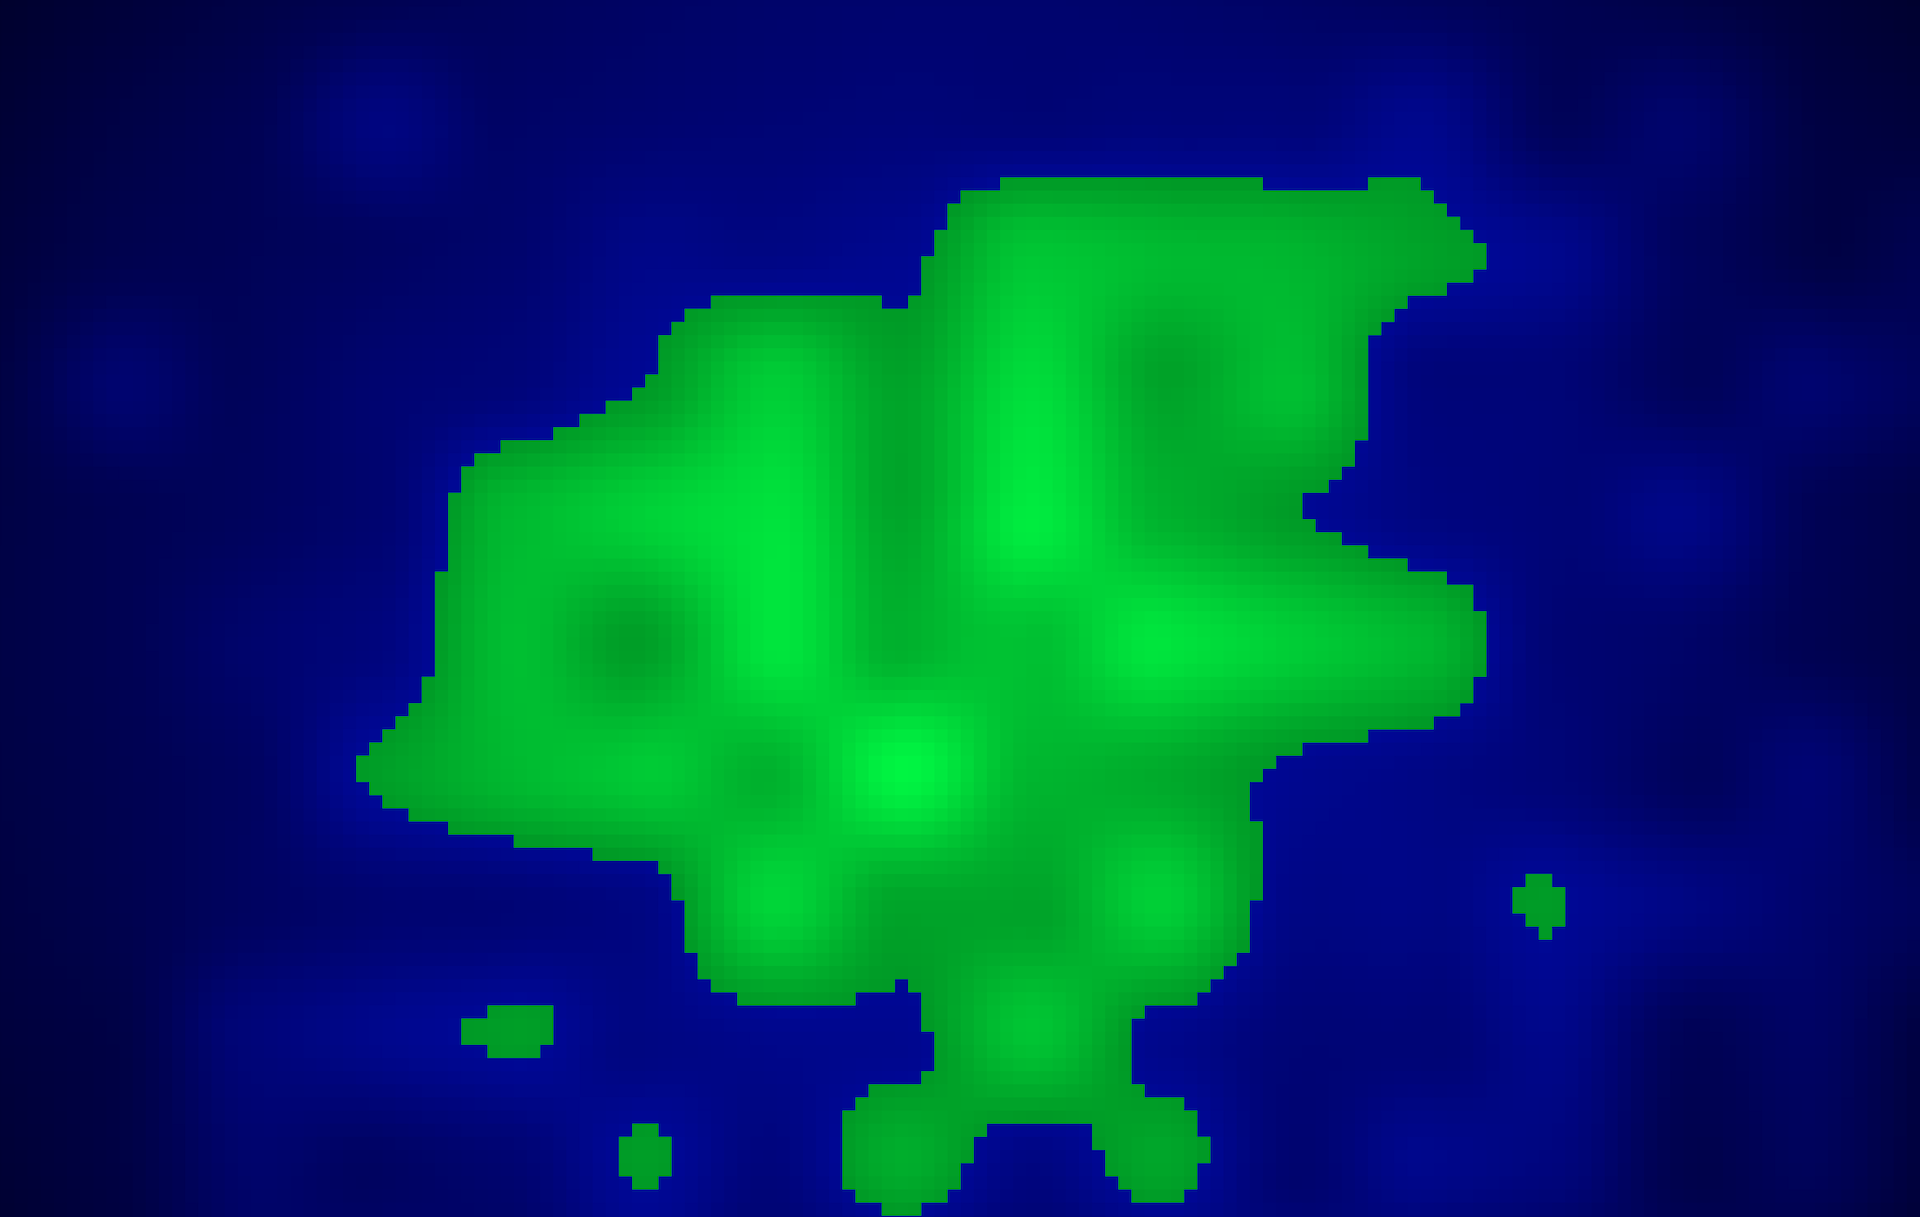
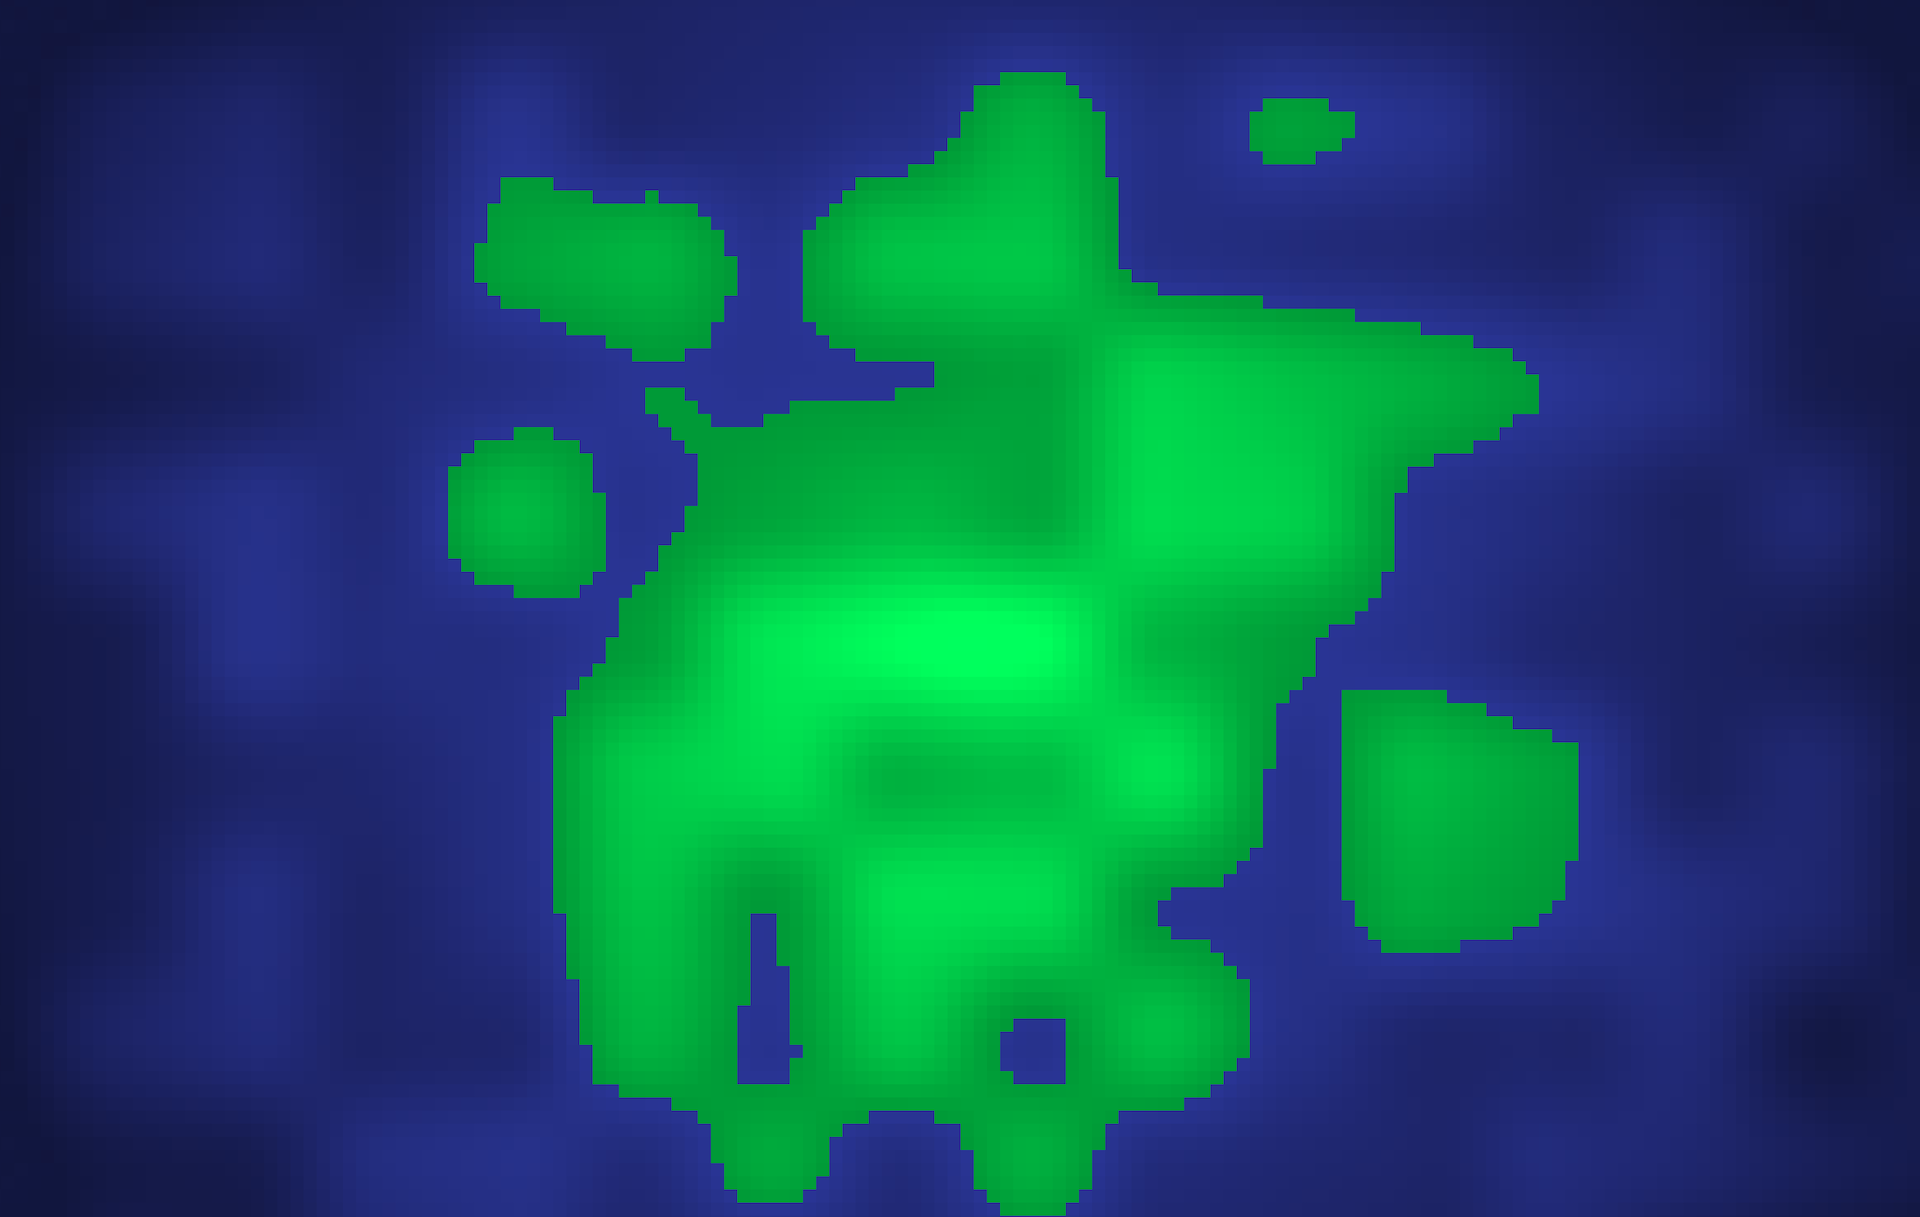
}Here's the result:
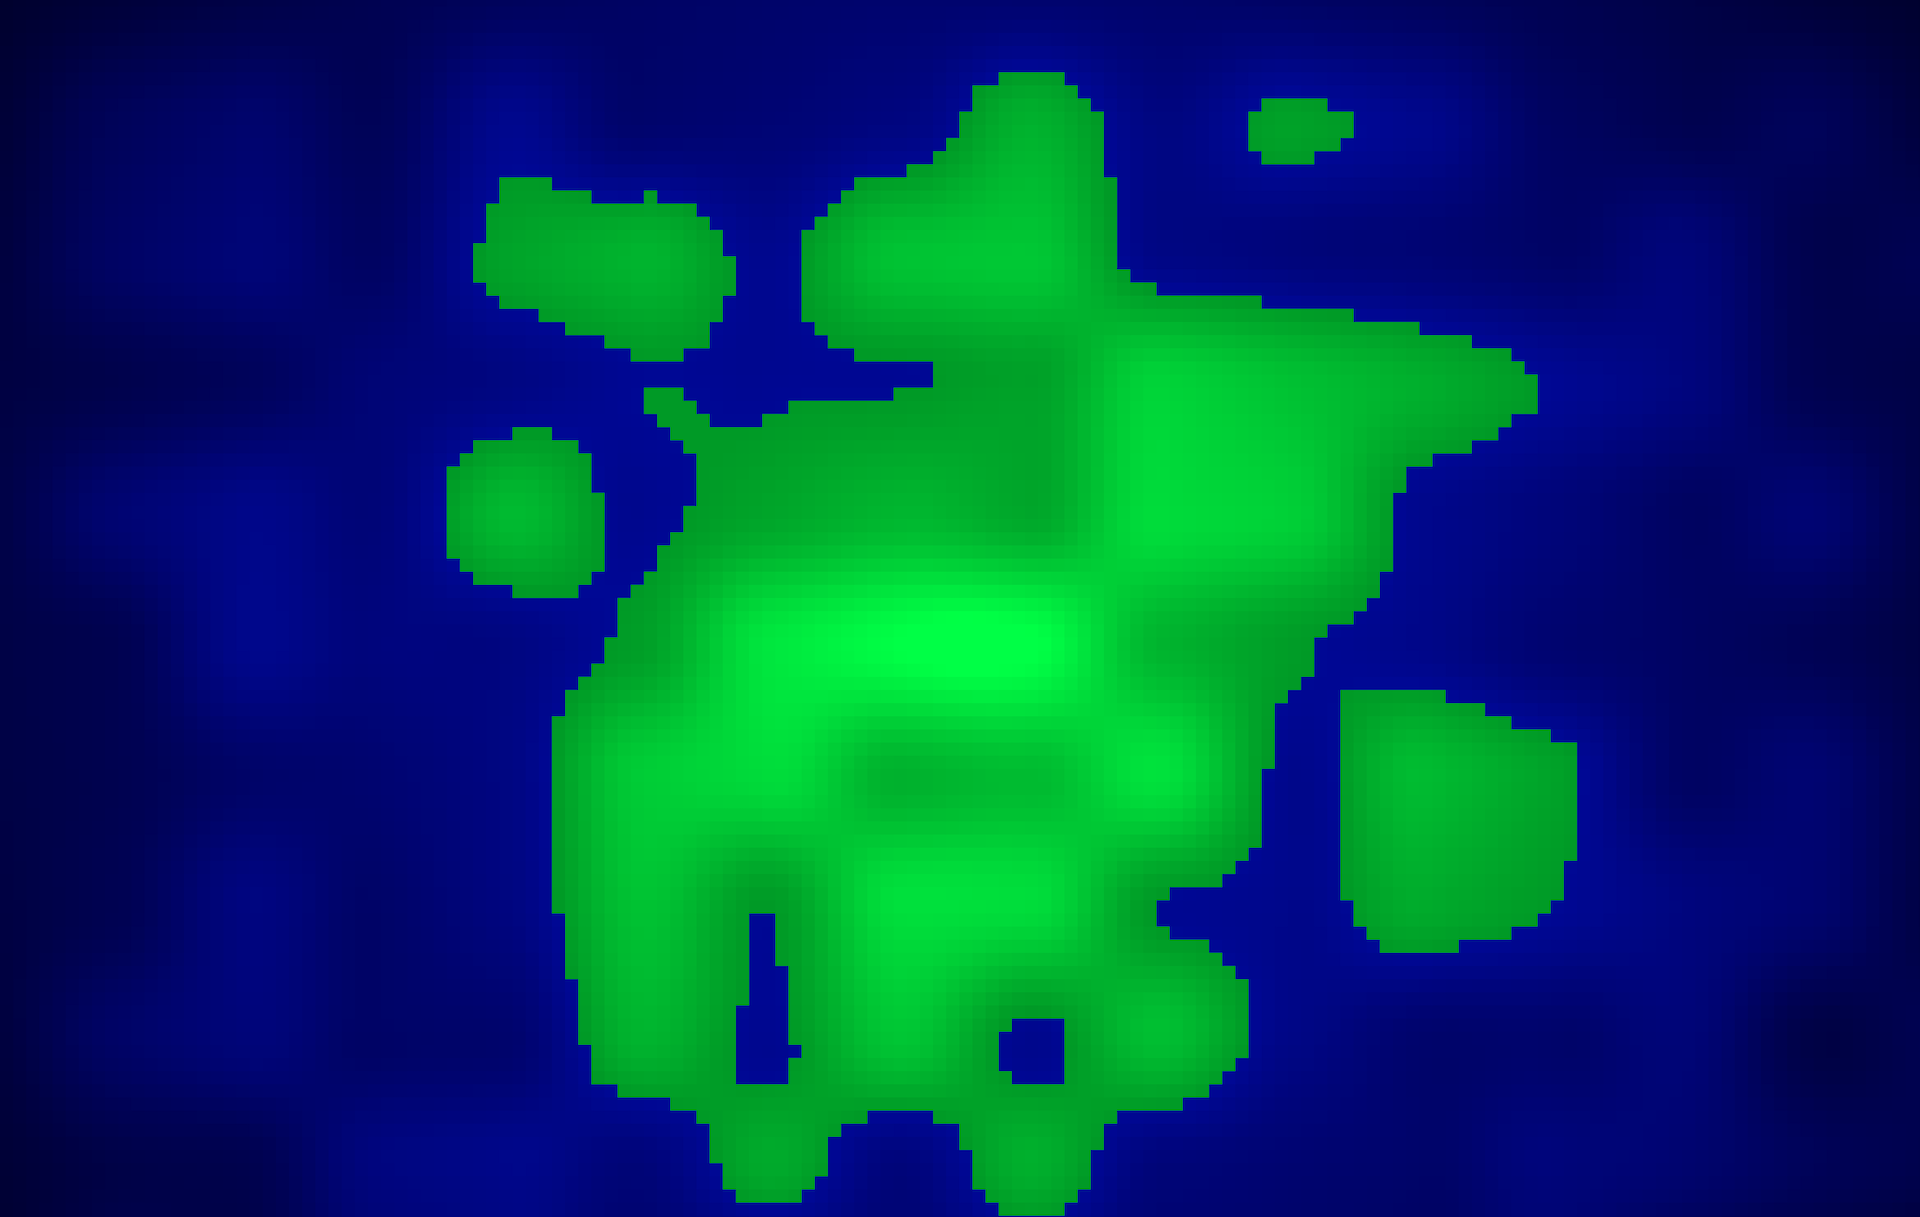
This looks a lot better! Thanks to our circular pattern, the middle portion of our map is raised, while the outer portions are lowered. It creates a neat island look. Let's try out some seeds to see the difference between them:

Pretty nice! But we're far from done: we'll want to add different areas on our map: forests, plains, mountains, vegetation, …. Simply using a match in our drawPixel method won't suffice anymore.
# Improved drawing
Let's make an interface Biome, which will determine our pixel color, and can determine what kind of vegetation should be added. We'll also represent pixels as a proper value object.
interface Biome
{
    public function getPixelColor(Pixel $pixel): string;
}
Let's add seas and plains first.
final readonly class SeaBiome implements Biome
{
    public function getPixelColor(Pixel $pixel): string
    {
        $base = $pixel->value;
        while ($base < 0.25) {
            $base += 0.01;
        }
        $r = hex($base / 3);
        $g = hex($base / 3);
        $b = hex($base);
        return "#{$r}{$g}{$b}";
    }
}
final readonly class PlainsBiome implements Biome
{
    public function getPixelColor(Pixel $pixel): string
    {
        $g = hex($pixel->value);
        $b = hex($pixel->value / 4);
        return "#00{$g}{$b}";
    }
}
Depending on a pixel's biome, we'll use its noise to generate a different kind of color.
In our drawPixel function, we can now make some changes:
function drawPixel(Pixel $pixel): string
{
    $biome = BiomeFactory::for($pixel);

    $color = $biome->getPixelColor($pixel);

    return <<<HTML
    <div style="
        --x: {$x};
        --y: {$y};
        --pixel-color: {$color};
    "></div>
    HTML;
}
For now, our
final readonly class BiomeFactory
{
    public static function for(Pixel $pixel): Biome
    {
        return match(true) {
            $pixel->value < 0.6 => new SeaBiome(),
            default => new PlainsBiome(),
        };
    }
}
It still works:
Let's go ahead and add all biomes now:
final readonly class BiomeFactory
{
public static function make(Pixel $pixel): Biome
{
return match(true) {
$pixel->value < 0.4 => new SeaBiome(),
$pixel->value >= 0.4 && $pixel->value < 0.44 => new BeachBiome(),
$pixel->value >= 0.6 && $pixel->value < 0.8 => new ForestBiome(),
$pixel->value >= 0.8 => new MountainBiome(),
default => new PlainsBiome(),
};
}
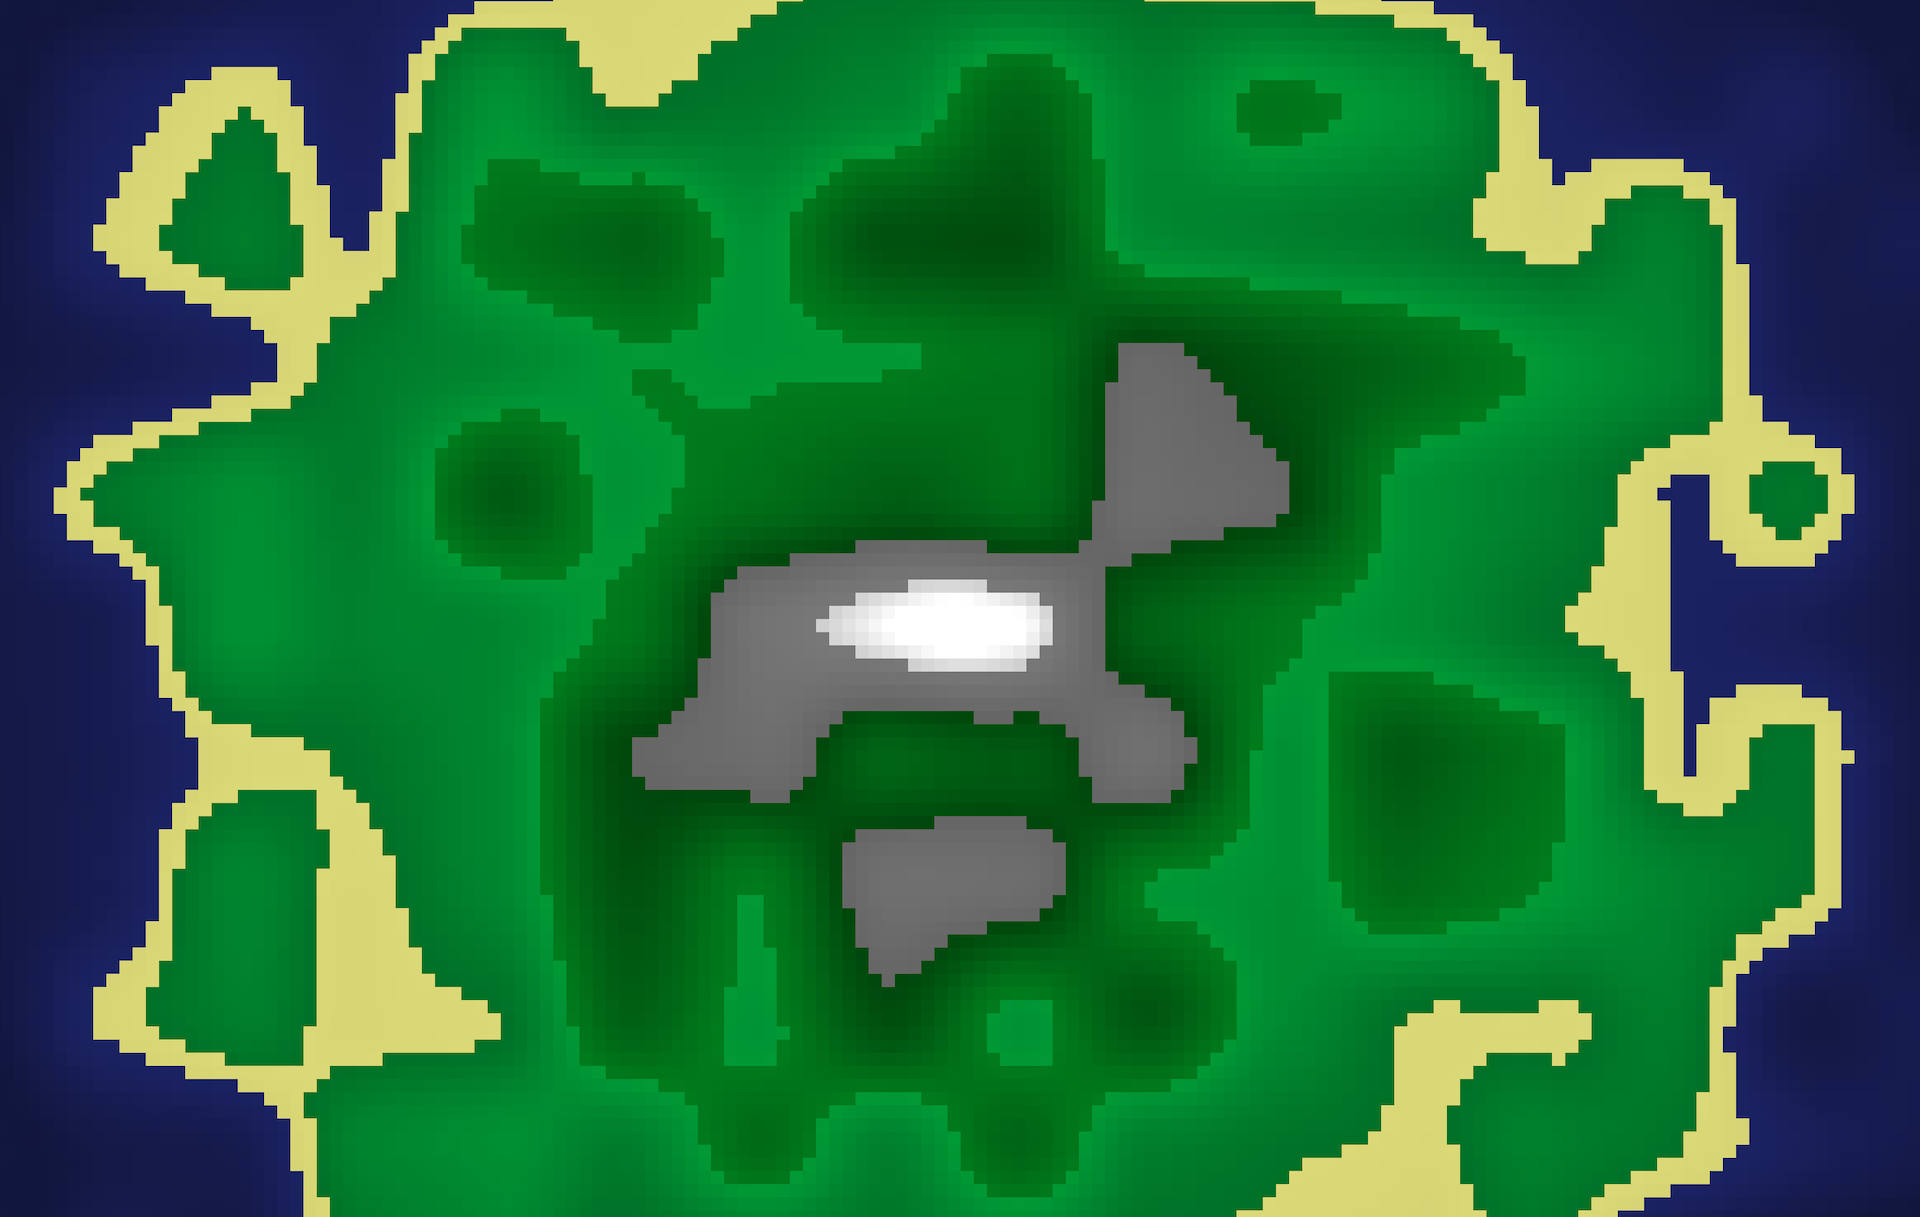
}Note that I also decided to change the sea level: from 0.6 to 0.4, so the map looks a bit different now. Take a look:
Not bad, right? But this is far from a finished game — in fact, this is only the very first step: we'll need a way of interacting with this map, we'll need to define some form of gameplay. Maybe you remember the intro? I mentioned resource gathering. I imagine this game to be some kind of cookie-clicker style game: the more resources you gather, the more you can advance in the tech tree, the more resources you can gather, …
Anyway, I've done a lot more work on this game already: I actually started this project as an experiment to explore the limits of Laravel Livewire, so interactivity and gameplay were the primary focus. I've explained the basic concepts already on my YouTube channel in two videos. I'm also working on a third video where I discuss how I added interaction to this particular game board, as well as the problems I ran in to (there are a bunch of caveats I haven't mentioned yet in this blog post).
So, if you want to follow along, make sure to subscribe on YouTube — I hope to make the third and final video of this series soon. Alternatively, you can subscribe to my mailing list, where I'll send you an update as well.
In the meantime, you can watch the first two parts of this series; and don't forget to subscribe!